كيفية إعداد برنامج Google Analytics
يستخدم برنامج Google Analytics لعرض وفهم حركة مرور الويب.
هو حر وسهلة الاستخدام.
يمكنك تخصيصه للعديد من حالات الاستخدام.
إنه يعمل خارج الصندوق.
انها سريعة لاقامة. احصل على رؤيتك اليوم!
إنشاء موقع الويب المجاني الخاص بي ❯تخطي القراءة حول Google Analytics. خذني مباشرة إلى الخطوة الأولى. انتقل إلى الخطوة الأولى
ما هو برنامج Google Analytics
برنامج Google Analytics هو أحد حلول تحليل بيانات الإنترنت.
تم تطويره ودعمه بواسطة Google.
أحدث إصدار يسمى Google Analytics 4.
يمكن استخدامه لعرض البيانات مثل الجمهور ، ومرات مشاهدة الصفحة ، والجلسات ، والتركيبة السكانية ، والأحداث.
لماذا تمكين Google Analytics
افهم حركة مرور الويب الخاصة بك لاتخاذ قرارات أفضل.
فهم وتحسين مسار المبيعات.
تعلم من التجربة (على سبيل المثال ، اختبارات أ / ب).
لدى Google حل آخر يسمى Google Optimize. هذا الحل مصنوع للاختبار.
لمن هو Google Analytics
يعد Google Analytics مفيدًا لأي شخص لديه موقع ويب.
يمنحك معلومات حول من يستخدم موقعك وكيف يتفاعلون معه.
بالإضافة إلى ذلك ، الواجهة سهلة الفهم.
لا تحتاج إلى خلفية تحليلية لاستخدام الخدمة والتنقل فيها.
كيفية إعداد برنامج Google Analytics خطوة بخطوة
يمكن إعداد Google Analytics بطريقتين هما Global Website Tag (gtag.js) أو Google Tag Manager .
أسهل طريقة هي استخدام علامة الموقع العالمية.
سيستخدم هذا البرنامج التعليمي نهج علامة الموقع العالمية.
الاستعدادات
حدد محرر الكود الذي تريد استخدامه وقم بإعداد بيئتك.
أنشأت W3Schools محرر كود سهل الاستخدام يسمى W3Schools Spaces . سجل وابدأ ببضع نقرات.
ابدأ مجانًا ❯قم بإنشاء ملف index.html الخاص بك حتى تكون جاهزًا لإدخال الرمز.
كل الإعداد. دعنا نذهب!
قم بإعداد Google Analytics: علامة الموقع العالمية
الخطوة 1: إنشاء حساب Google Analytics
انتقل إلى Analytics: أنشئ حسابًا أو سجّل الدخول إلى Analytics
ينقلك الرابط الموجود في الفقرة أعلاه إلى صفحة Google Analytics المقصودة.
انقر فوق الزر "ابدأ مجانًا".

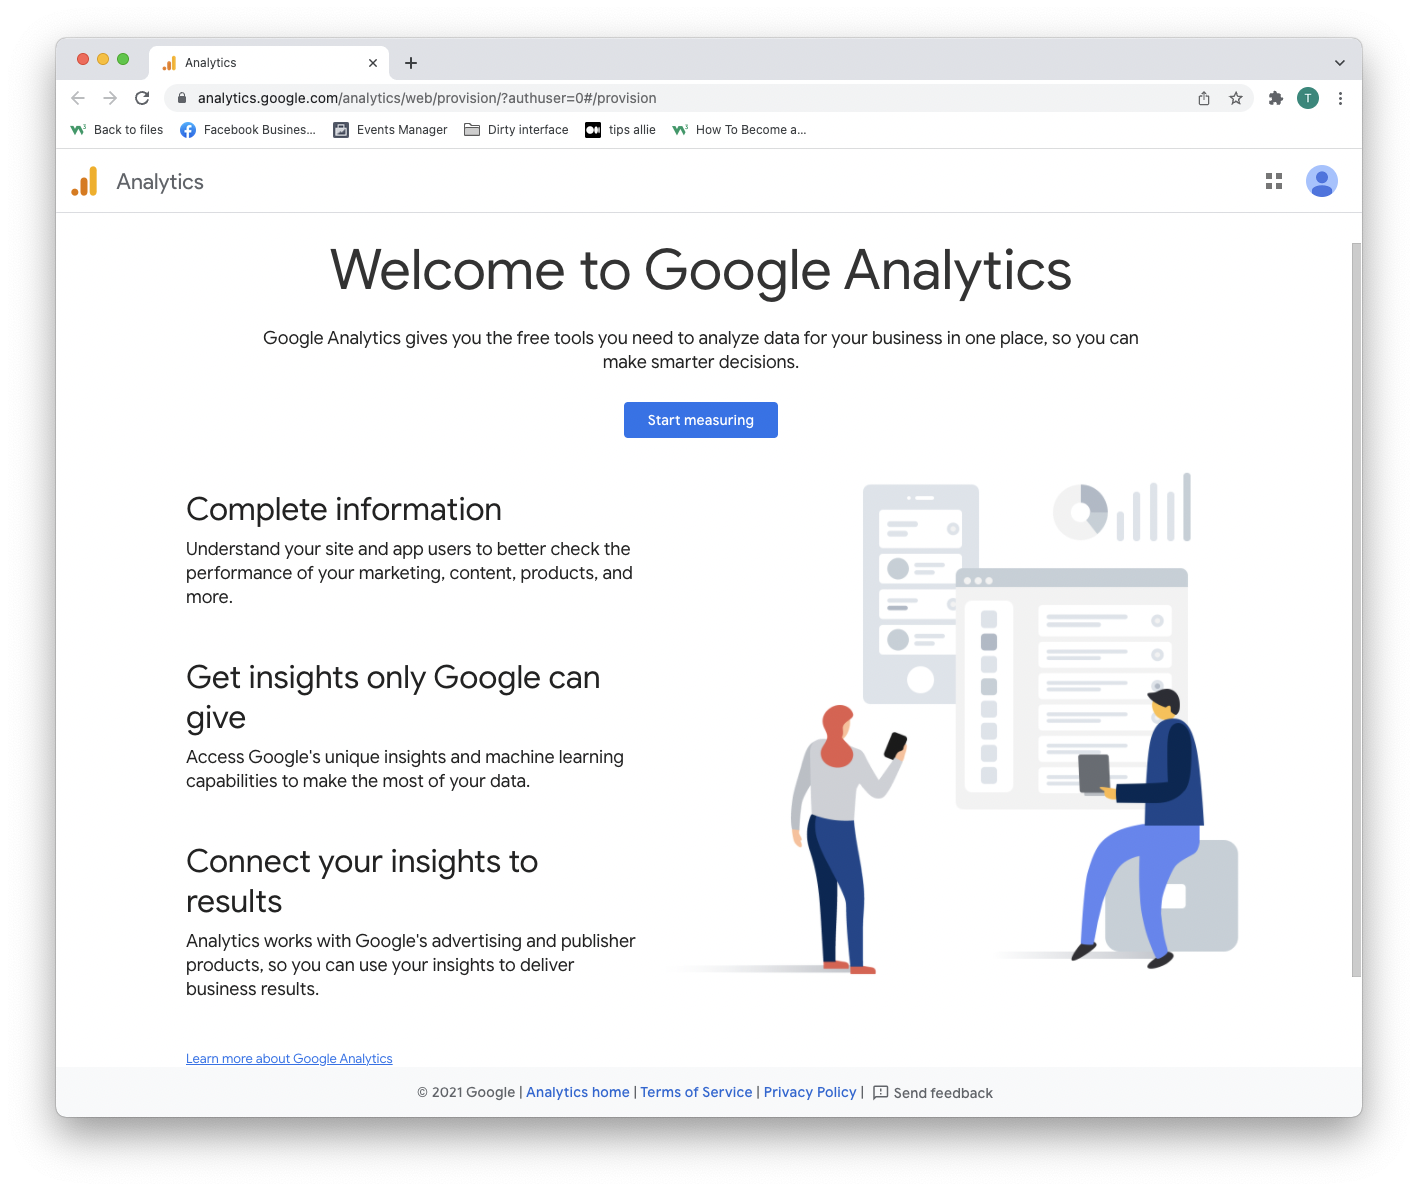
الخطوة 2: ادخل إلى صفحة الترحيب
بعد إنشاء حساب أو تسجيل الدخول ، أنت مرحب بك في الحل.
اضغط على زر "بدء القياس" للمتابعة.
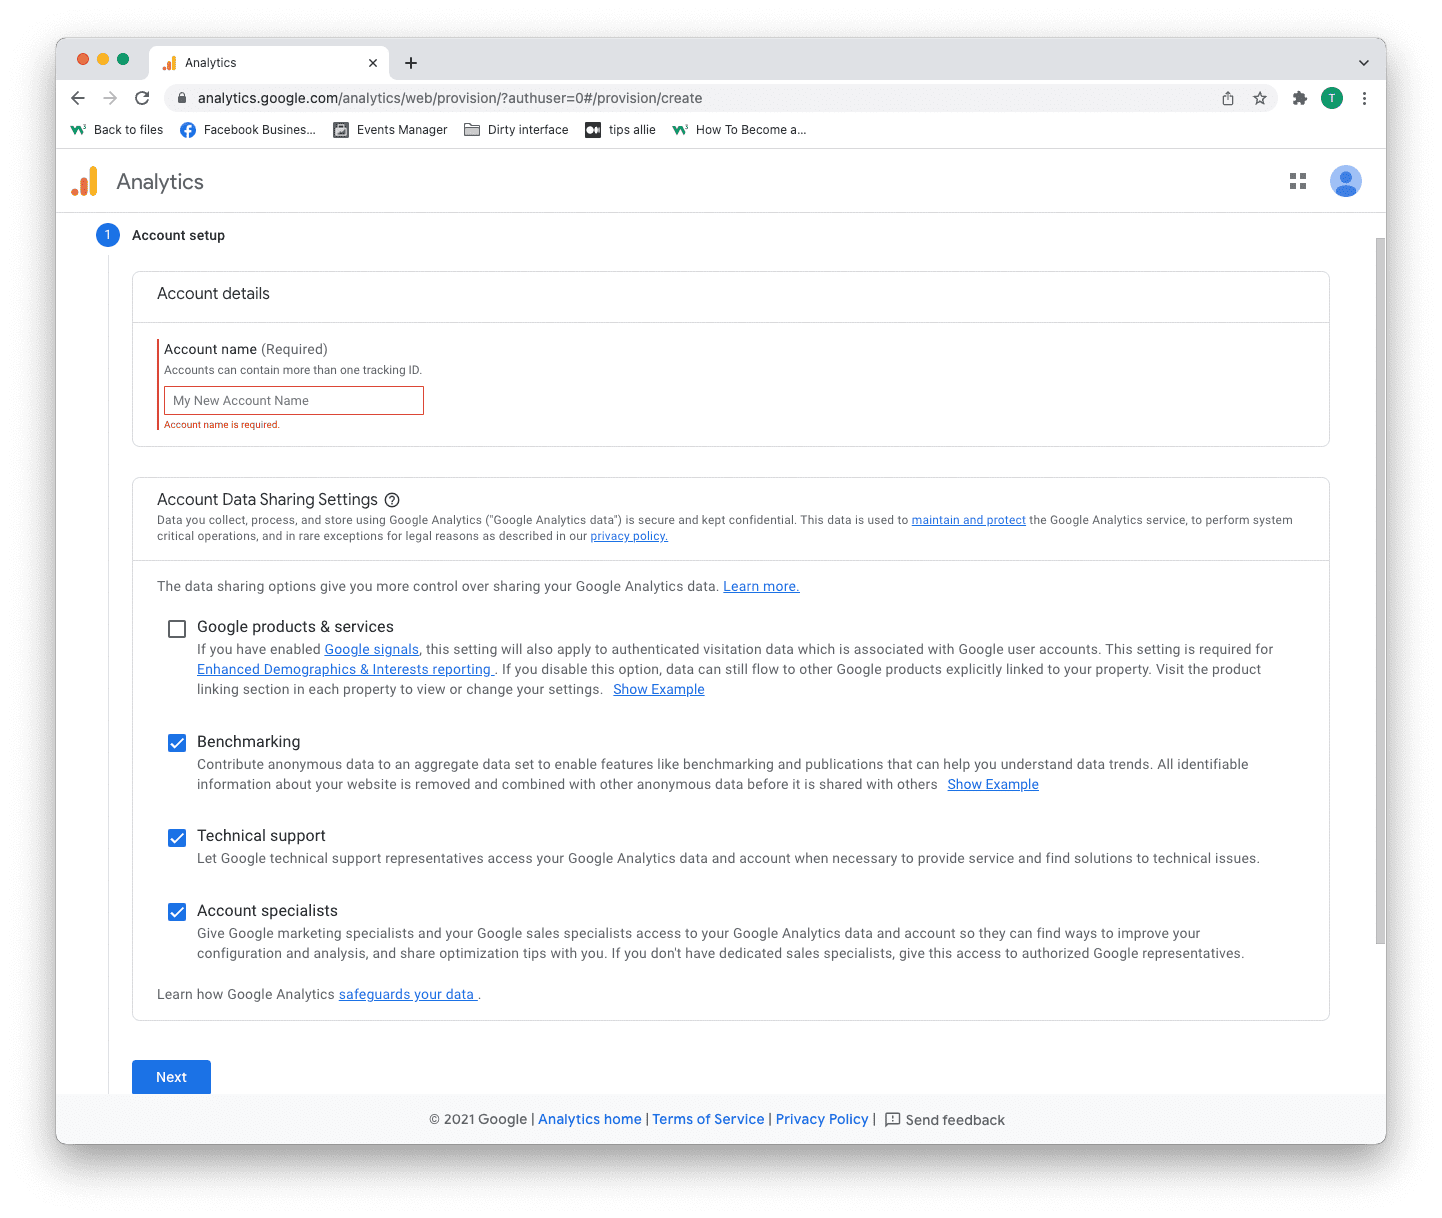
الخطوة 3: إنشاء الحساب
لديك قراران لاتخاذها هنا.
- أدخل اسم حسابك.
- حدد البيانات التي تريد مشاركتها.
- انقر فوق الزر "التالي".
يمكن أن يحتوي حساب واحد على أكثر من معرّف تتبع واحد. يمكنك تتبع أكثر من موقع باستخدام حساب.
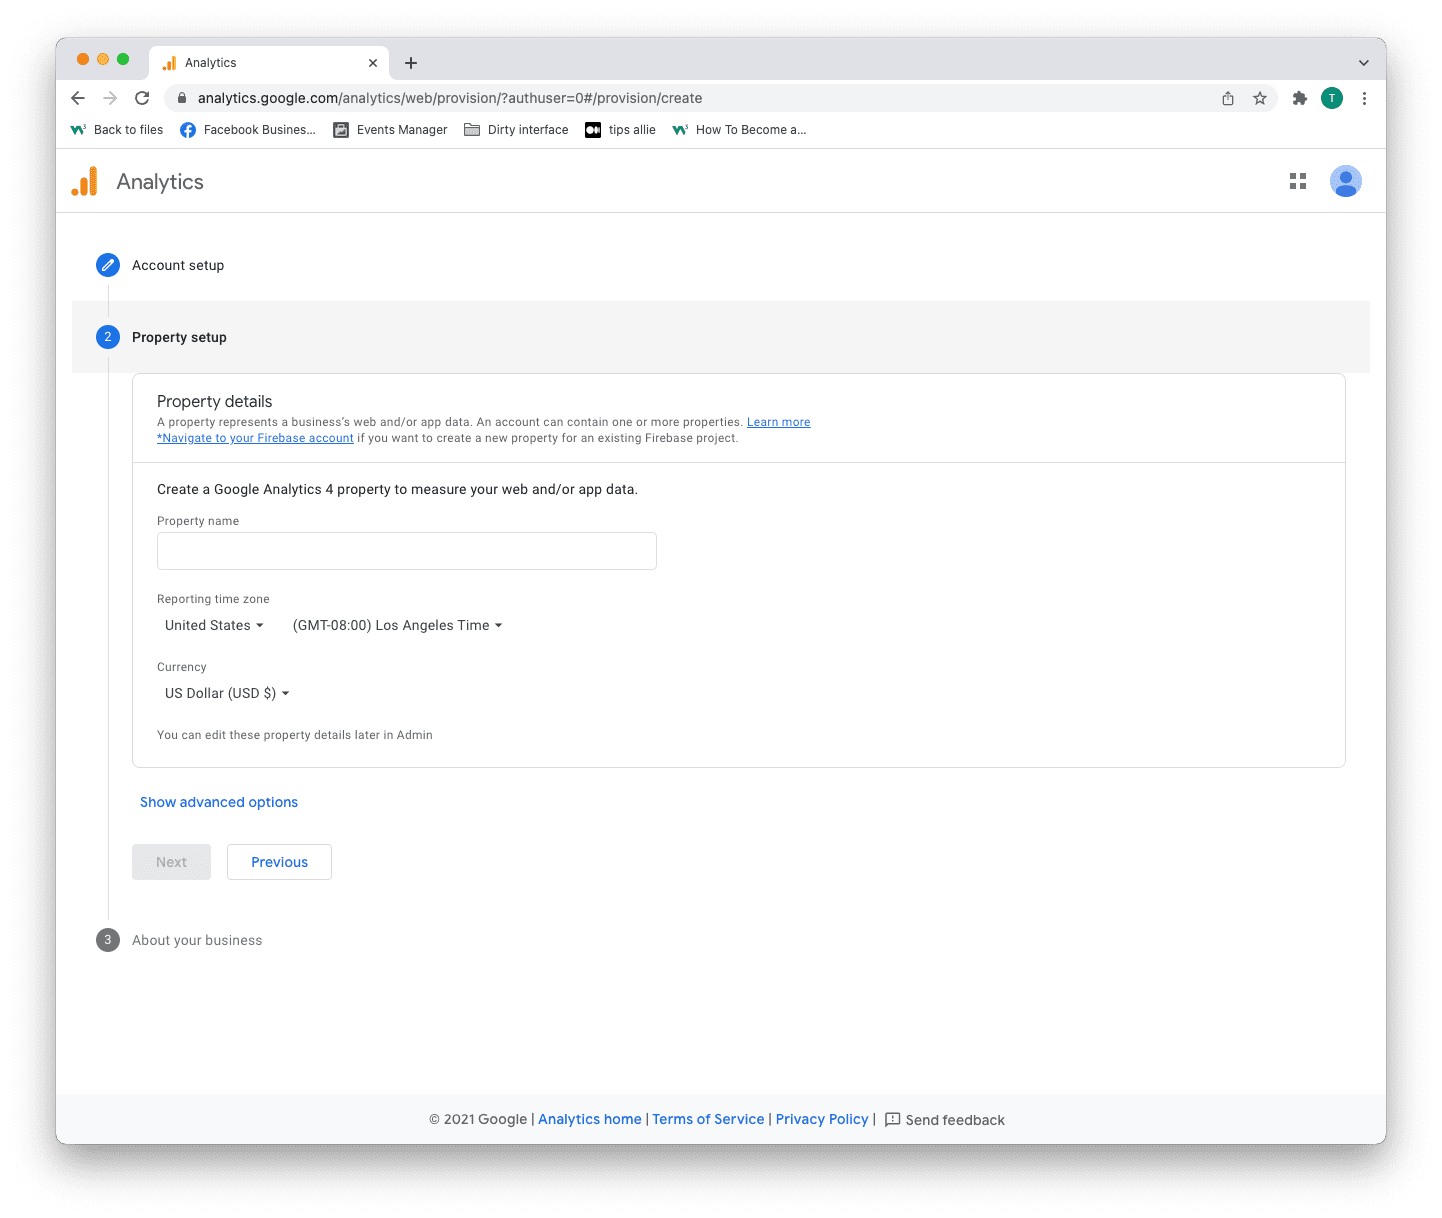
الخطوة 4: إعداد الخاصية
الخاصية هي الخدمة التي تقيسها ، مثل موقع ويب أو تطبيق أو شجرة روابط وما إلى ذلك.
- أدخل اسم الخاصية.
- أدخل منطقتك الزمنية.
- أدخل العملة التي تستخدمها.
- انقر فوق الزر "التالي".
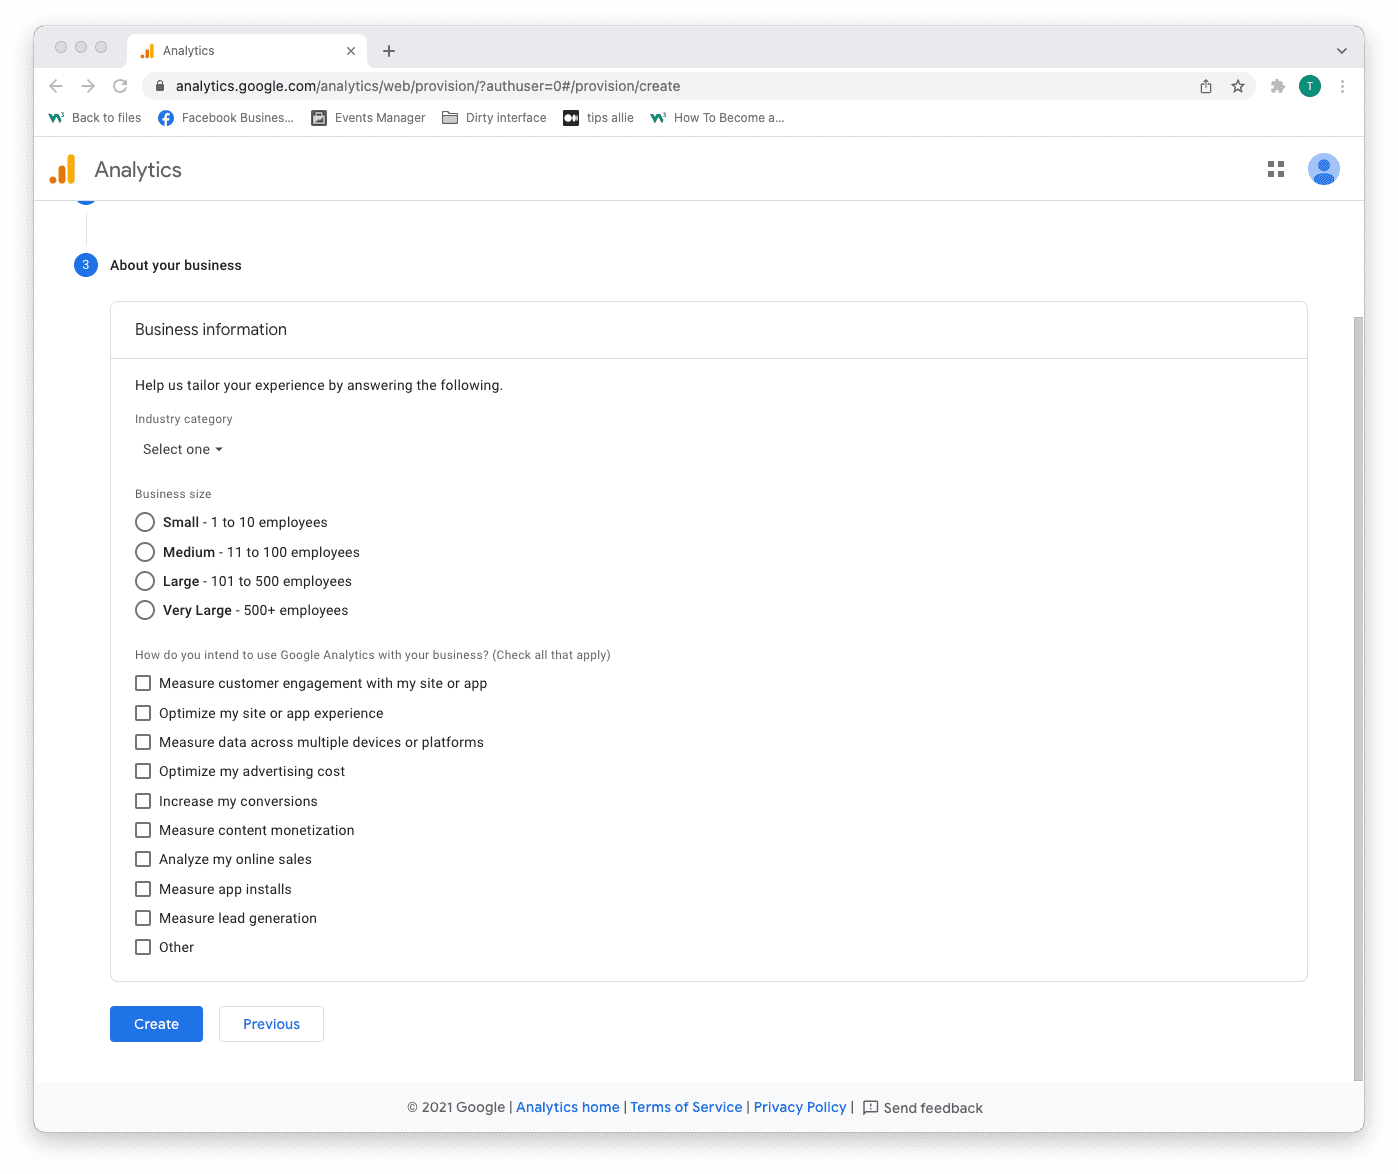
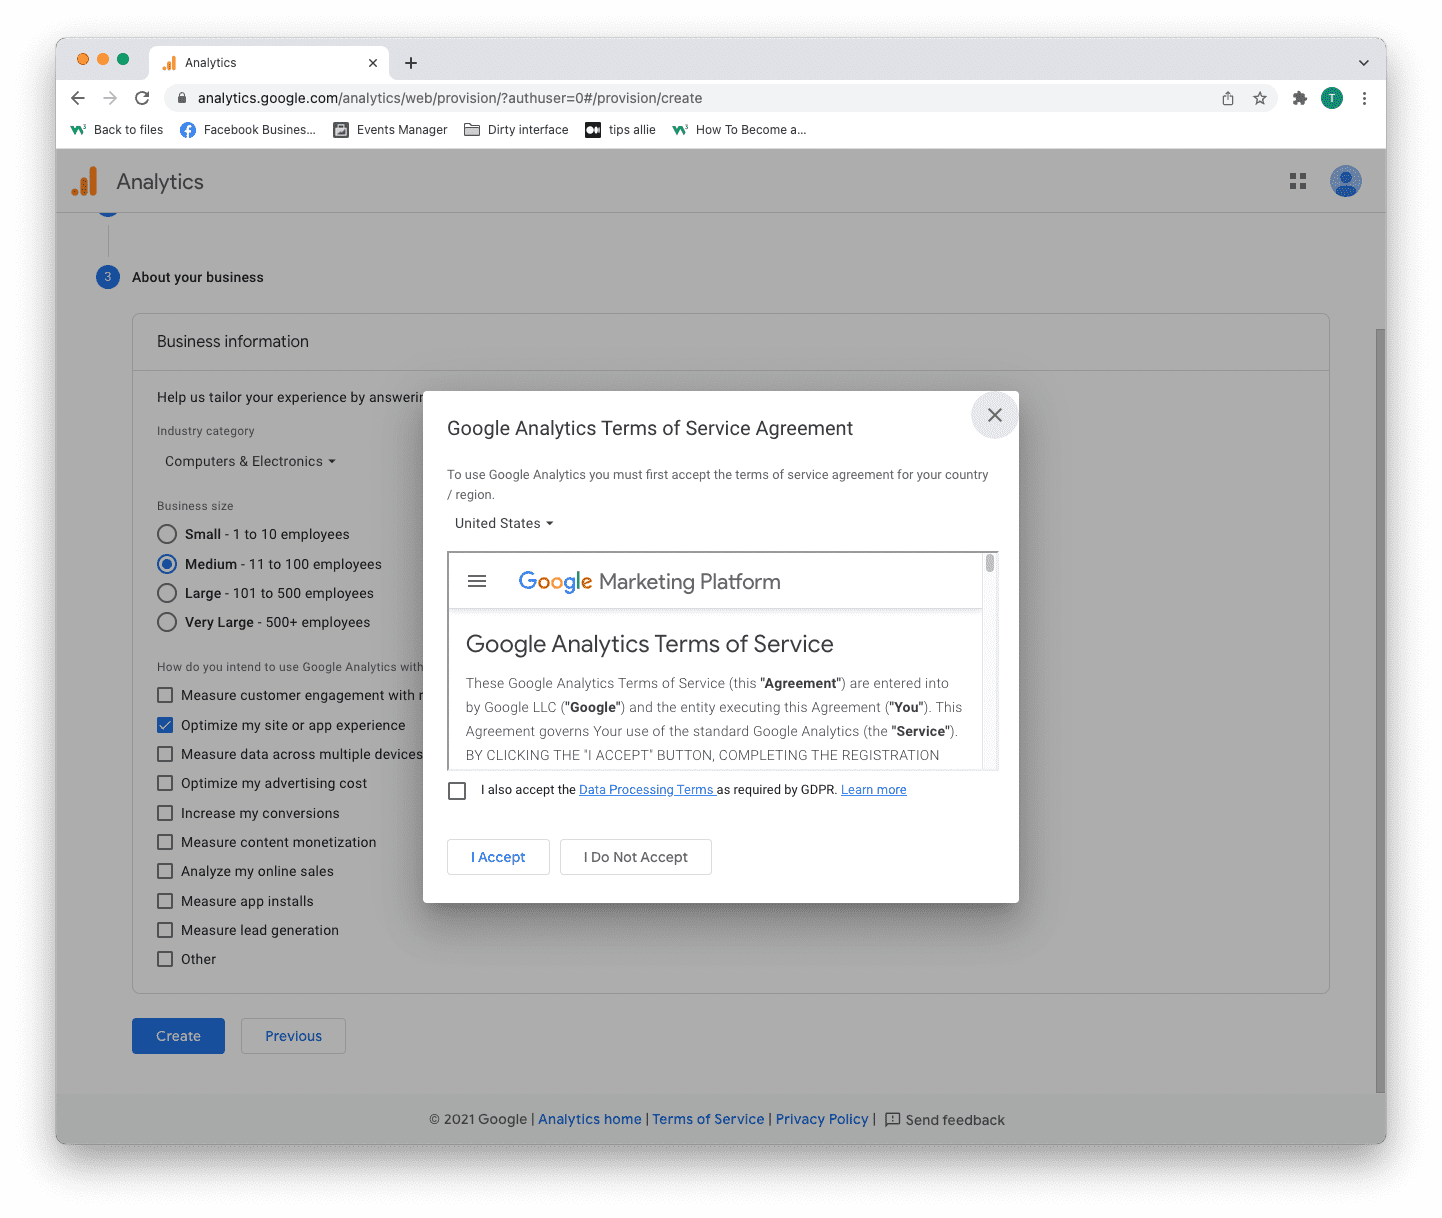
الخطوة 5: أضف معلومات العمل
يستخدم برنامج Analytics المعلومات لتخصيص تجربتك.
- حدد فئة الصناعة الخاصة بك.
- حدد حجم العمل.
- Tick the boxes for how you are planning to use Analytics.
- Click the "Create" button to proceed.
Step 6: Terms of Service Agreement
Read and understand the terms of service.
Tick the GDPR box and click the "I accept" button if you agree.
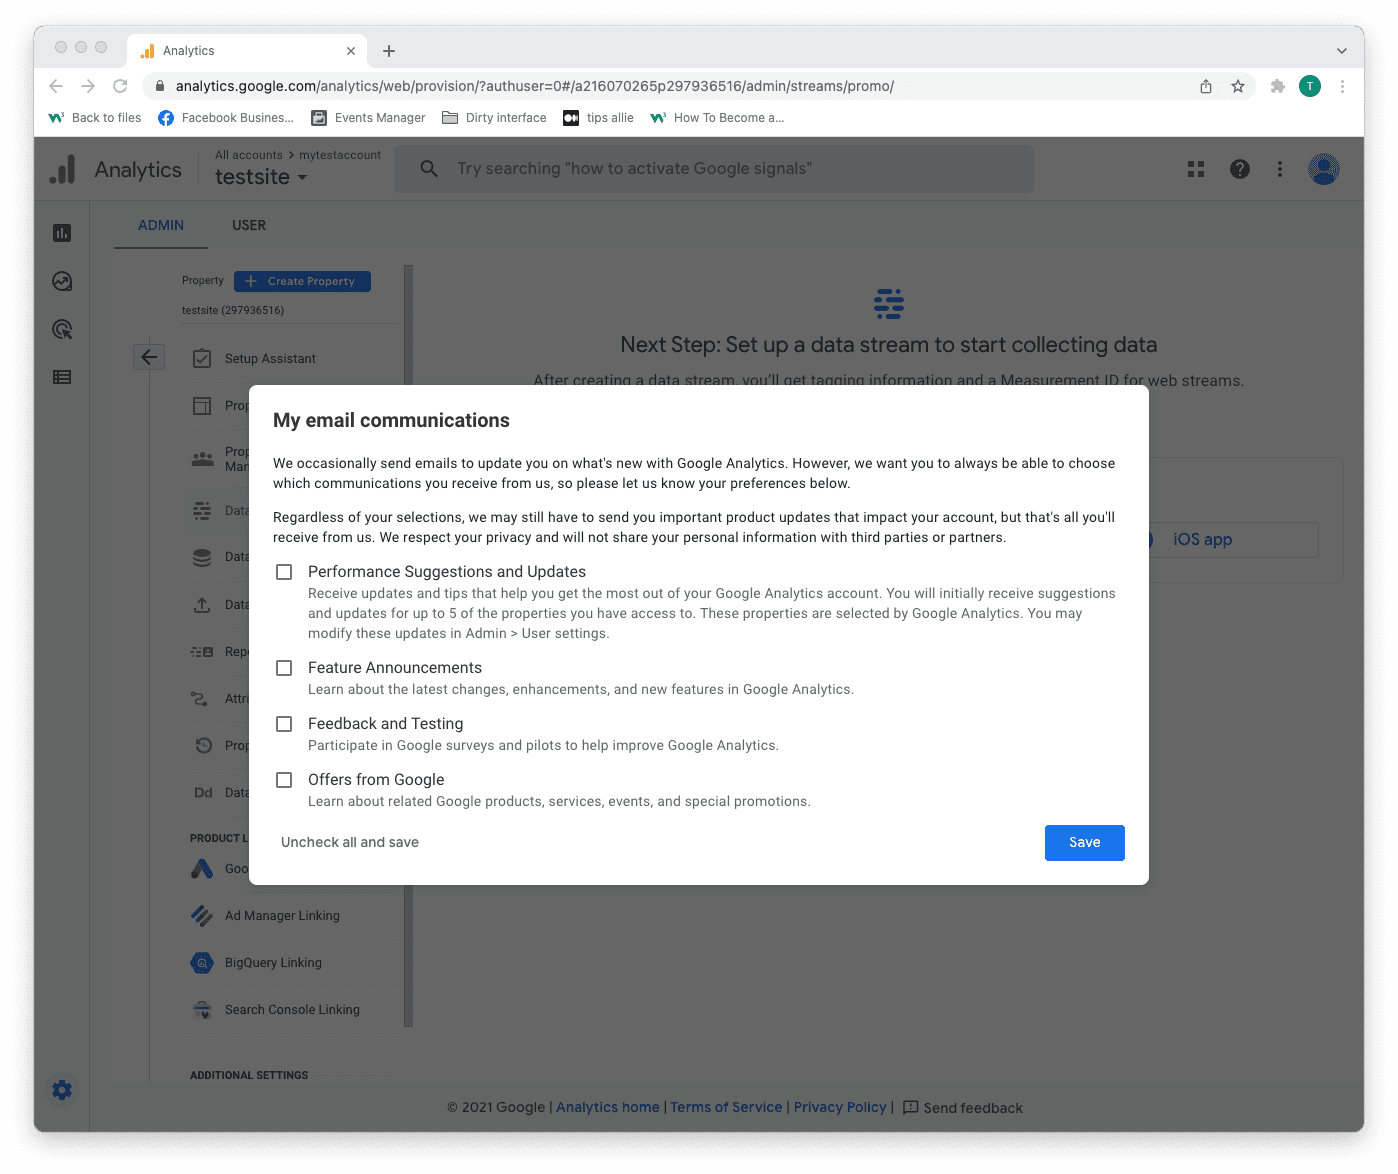
Step 7: Email subscriptions
- Tick or uncheck all boxes.
- Click the "Save" button to continue.
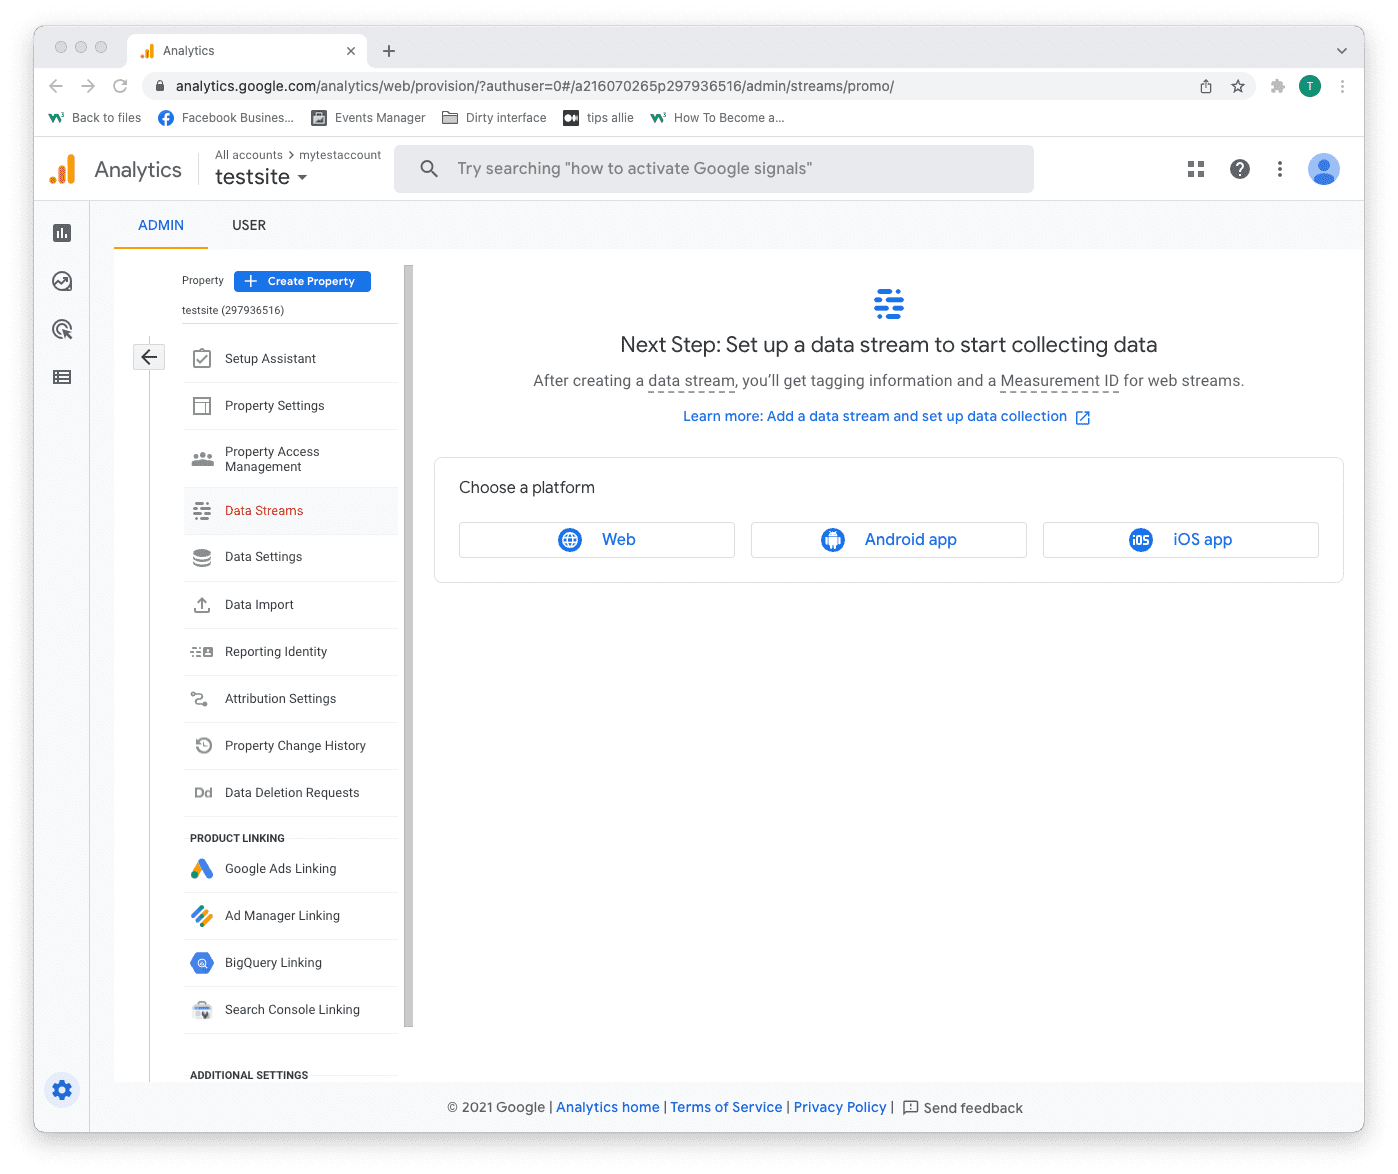
Step 8: Select platform
Chose the platform where you are collecting data.
Then, click the relevant platform to continue.
We are continuing with "Web" as the example in this tutorial.
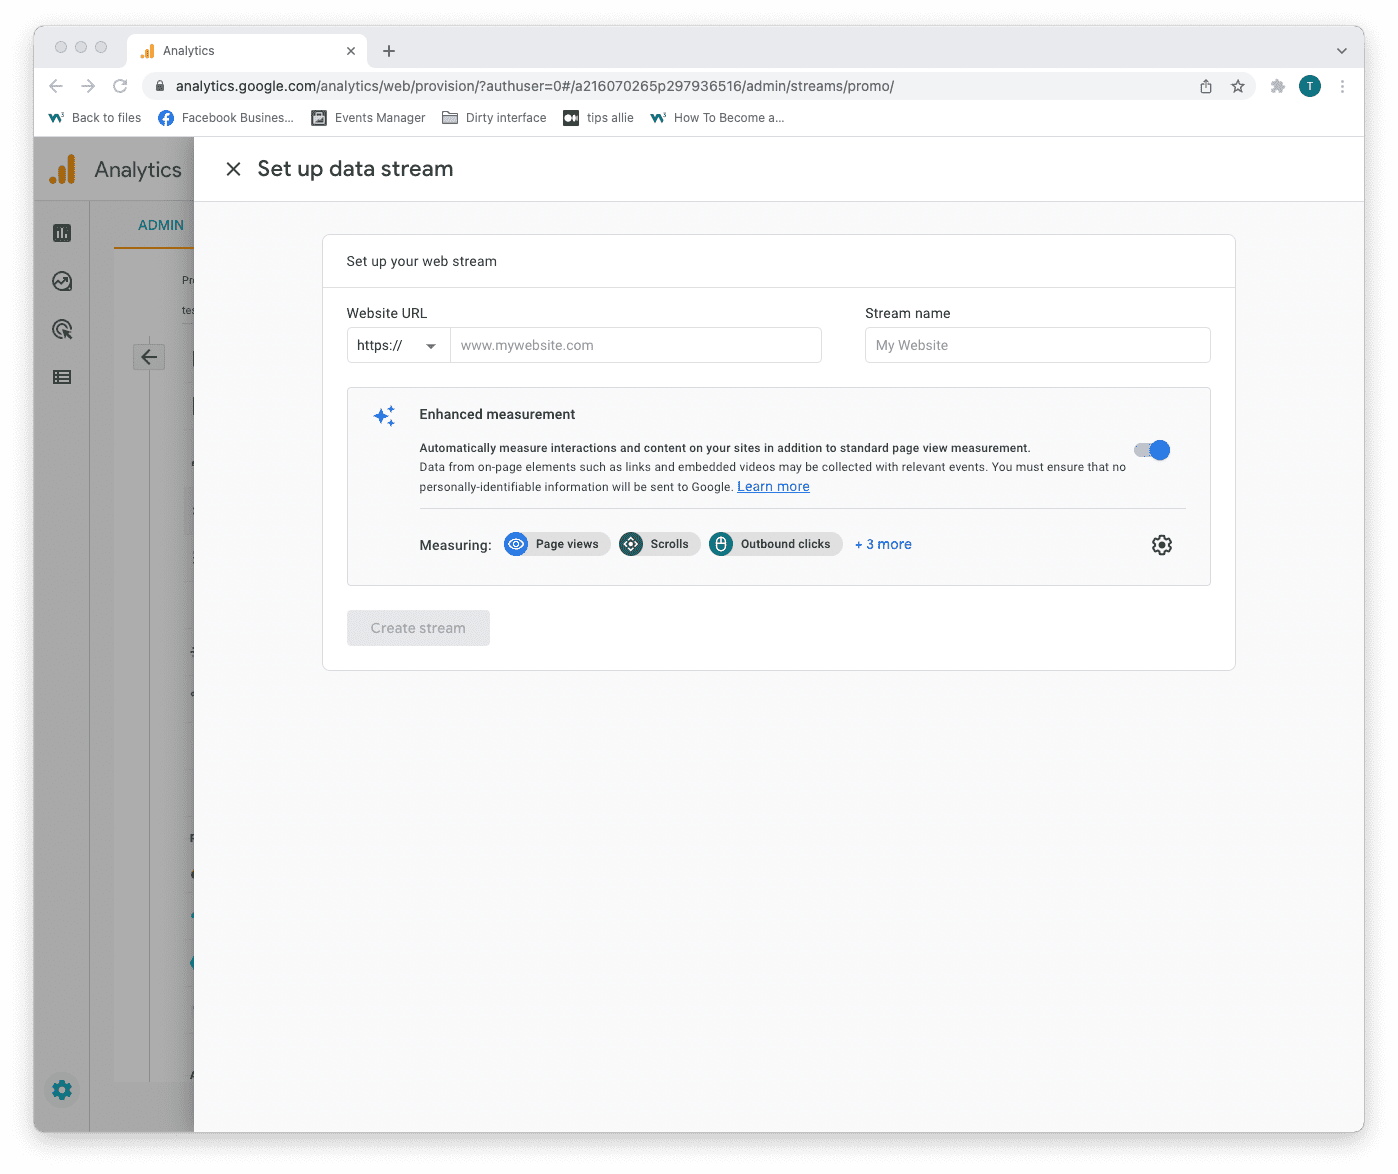
Step 9: Data stream setup
Enter data stream details.
- The URL to your site.
- The name that you want to give the stream.
- Decide if you are to enable enhanced measurement or not.
- Click on the "Create stream" button to continue.
The enhanced measurement can give the data more context. Improving your understanding of the traffic.
Step 10: Web stream overview
Here you can see a detailed overview of the web stream.
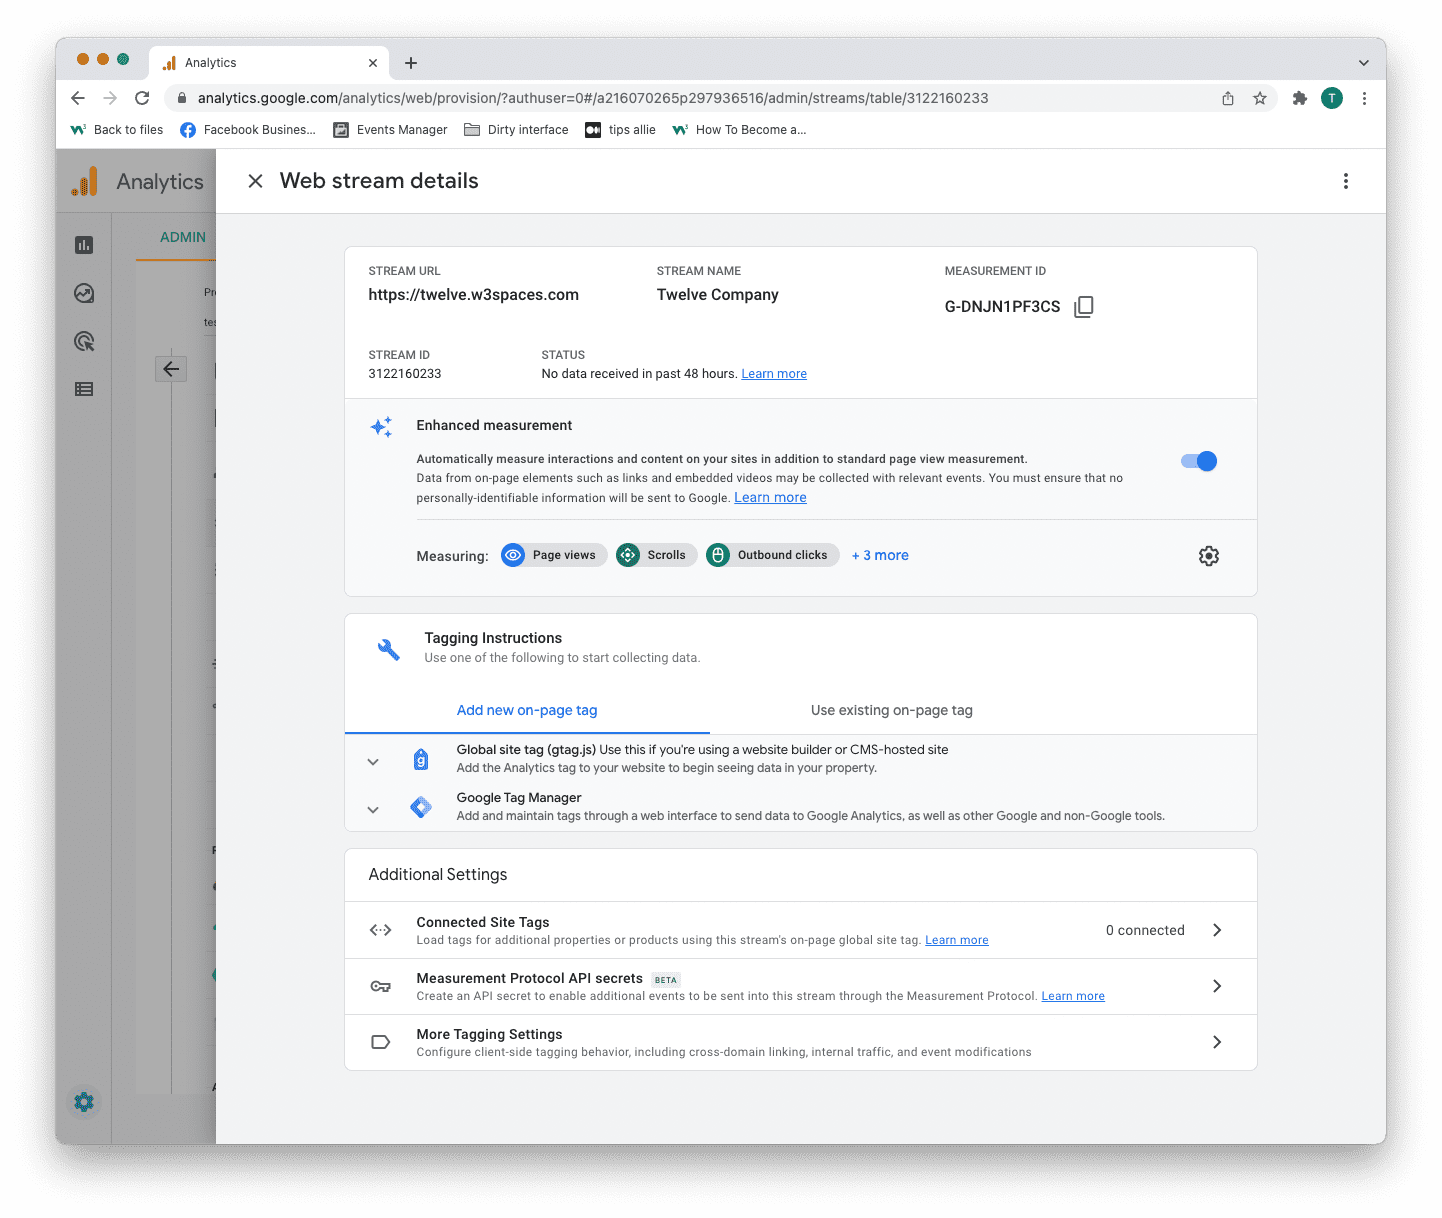
Here are the key takeaways from the overview.
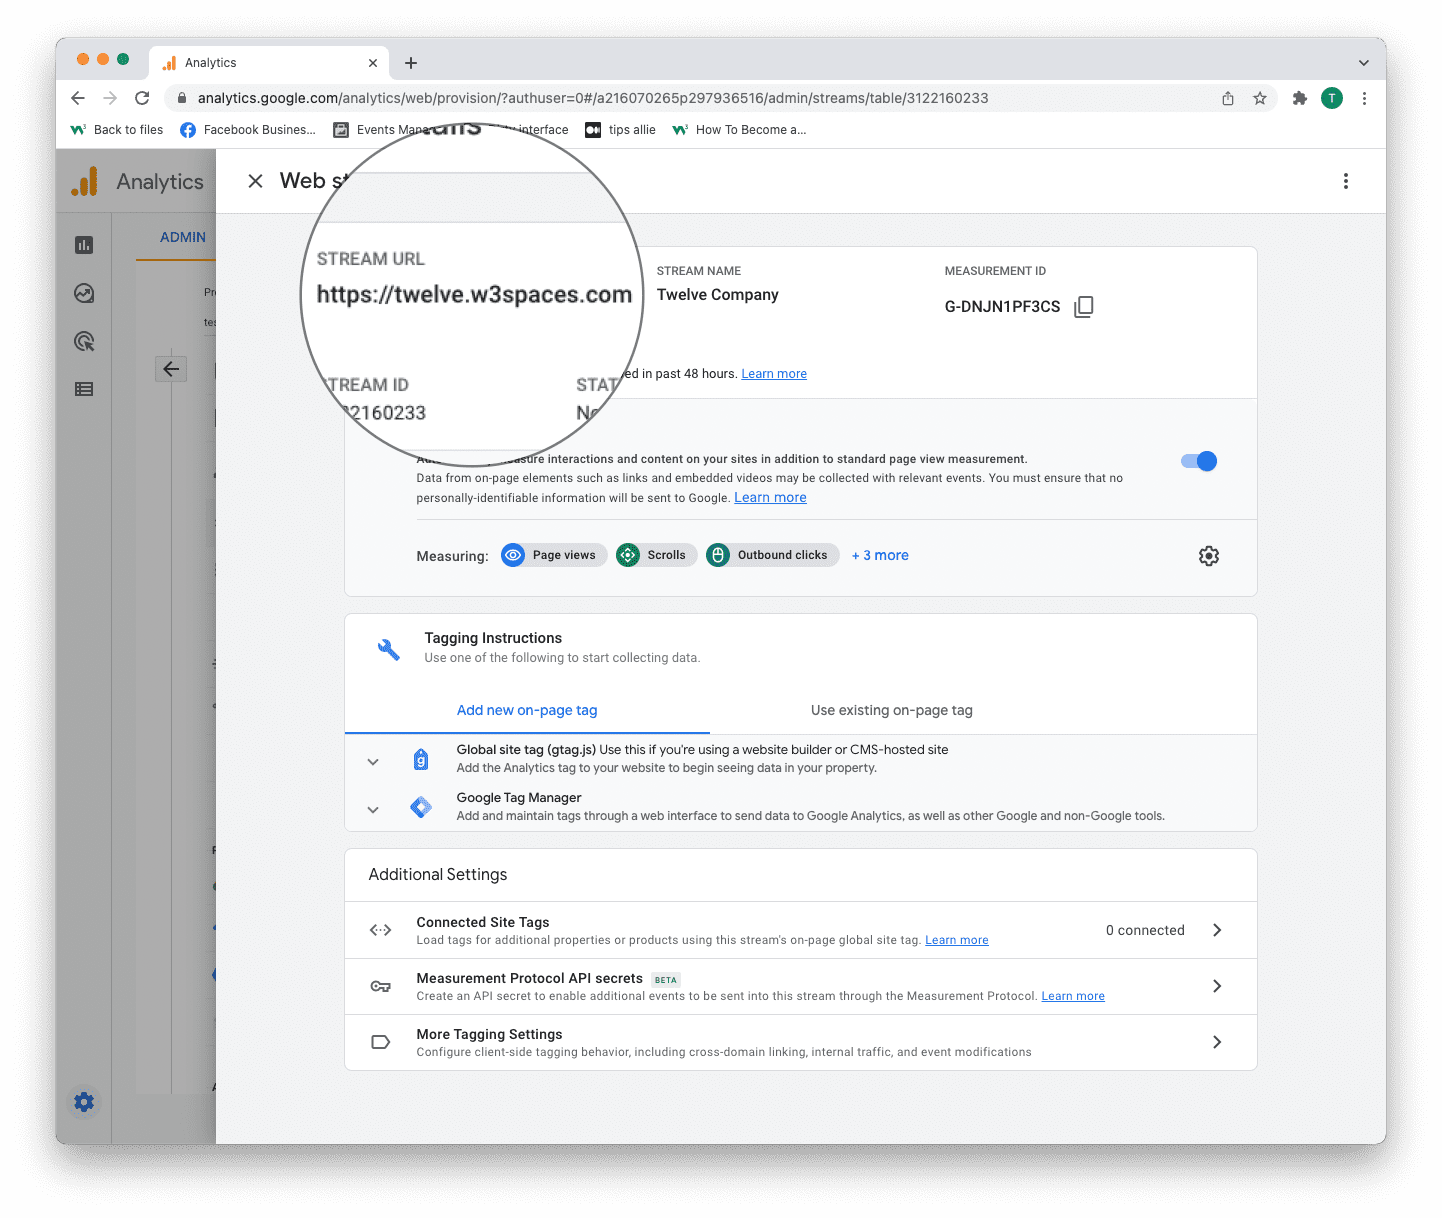
1. Stream URL.
The Stream URL is the link to the connected site.
2. Measurement ID
The Measurement ID is the identifier for your data stream.
It has a format of G-XXXXXXX.
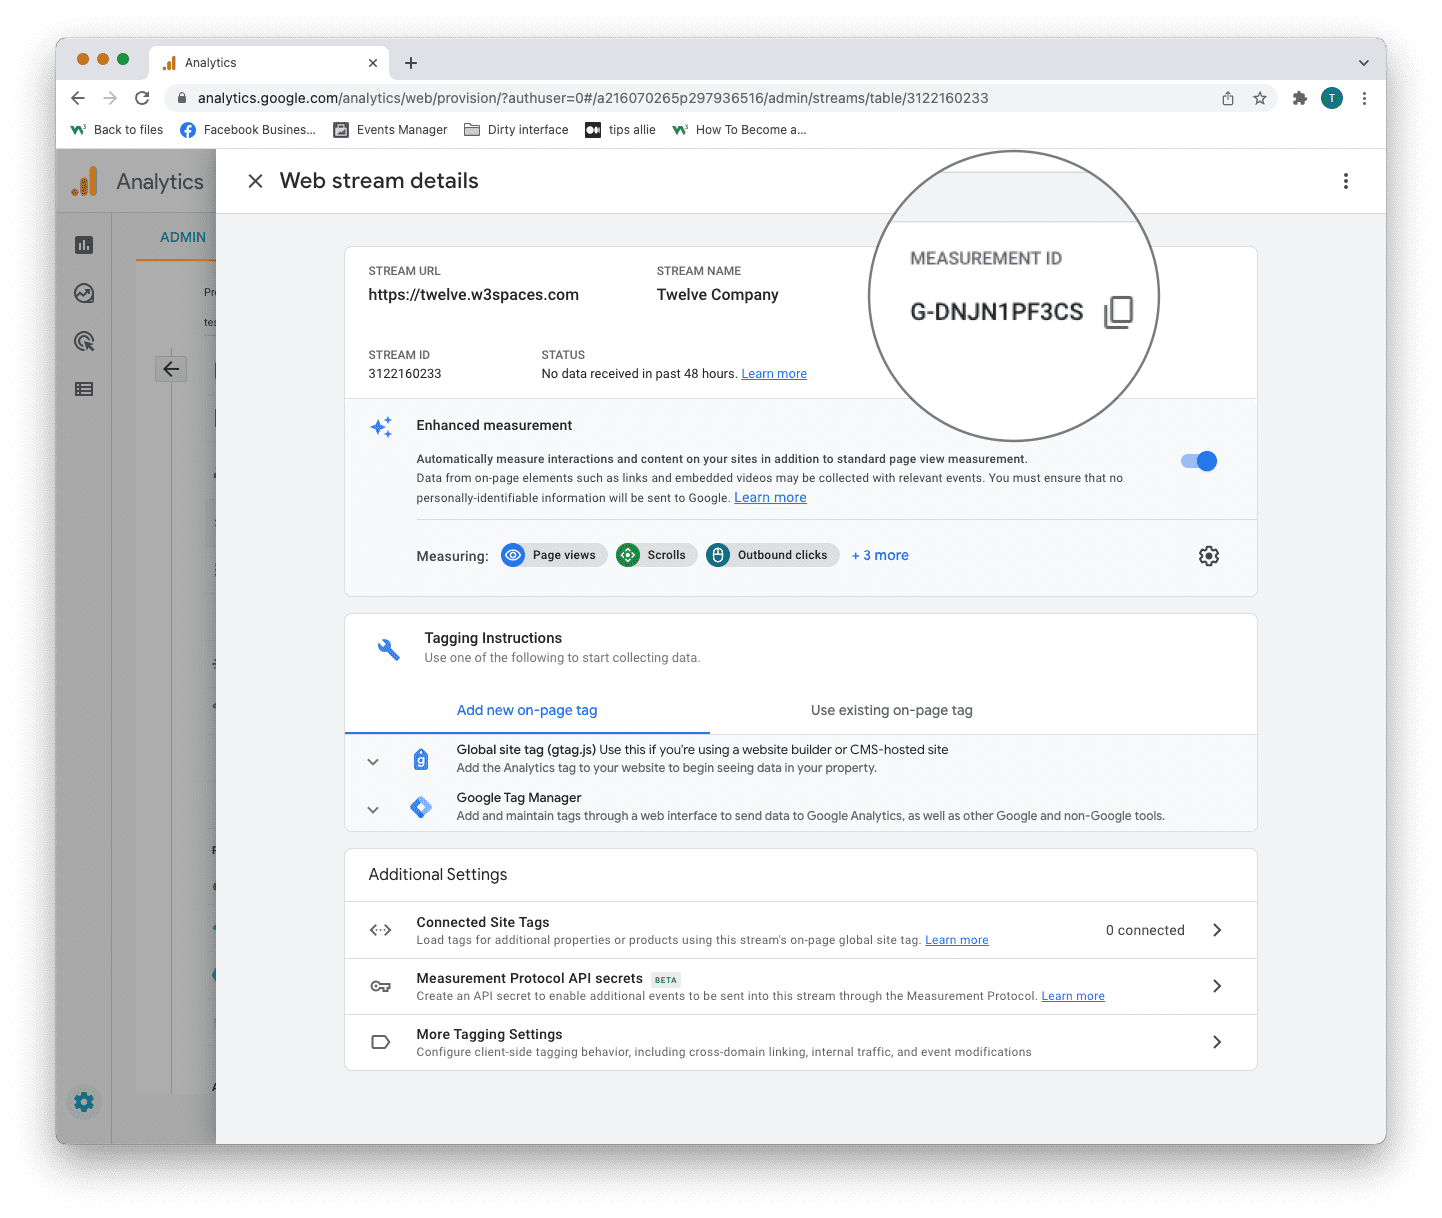
Google Analytics 4 uses Measurement ID. Older versions use Tracking ID. You can not have both.
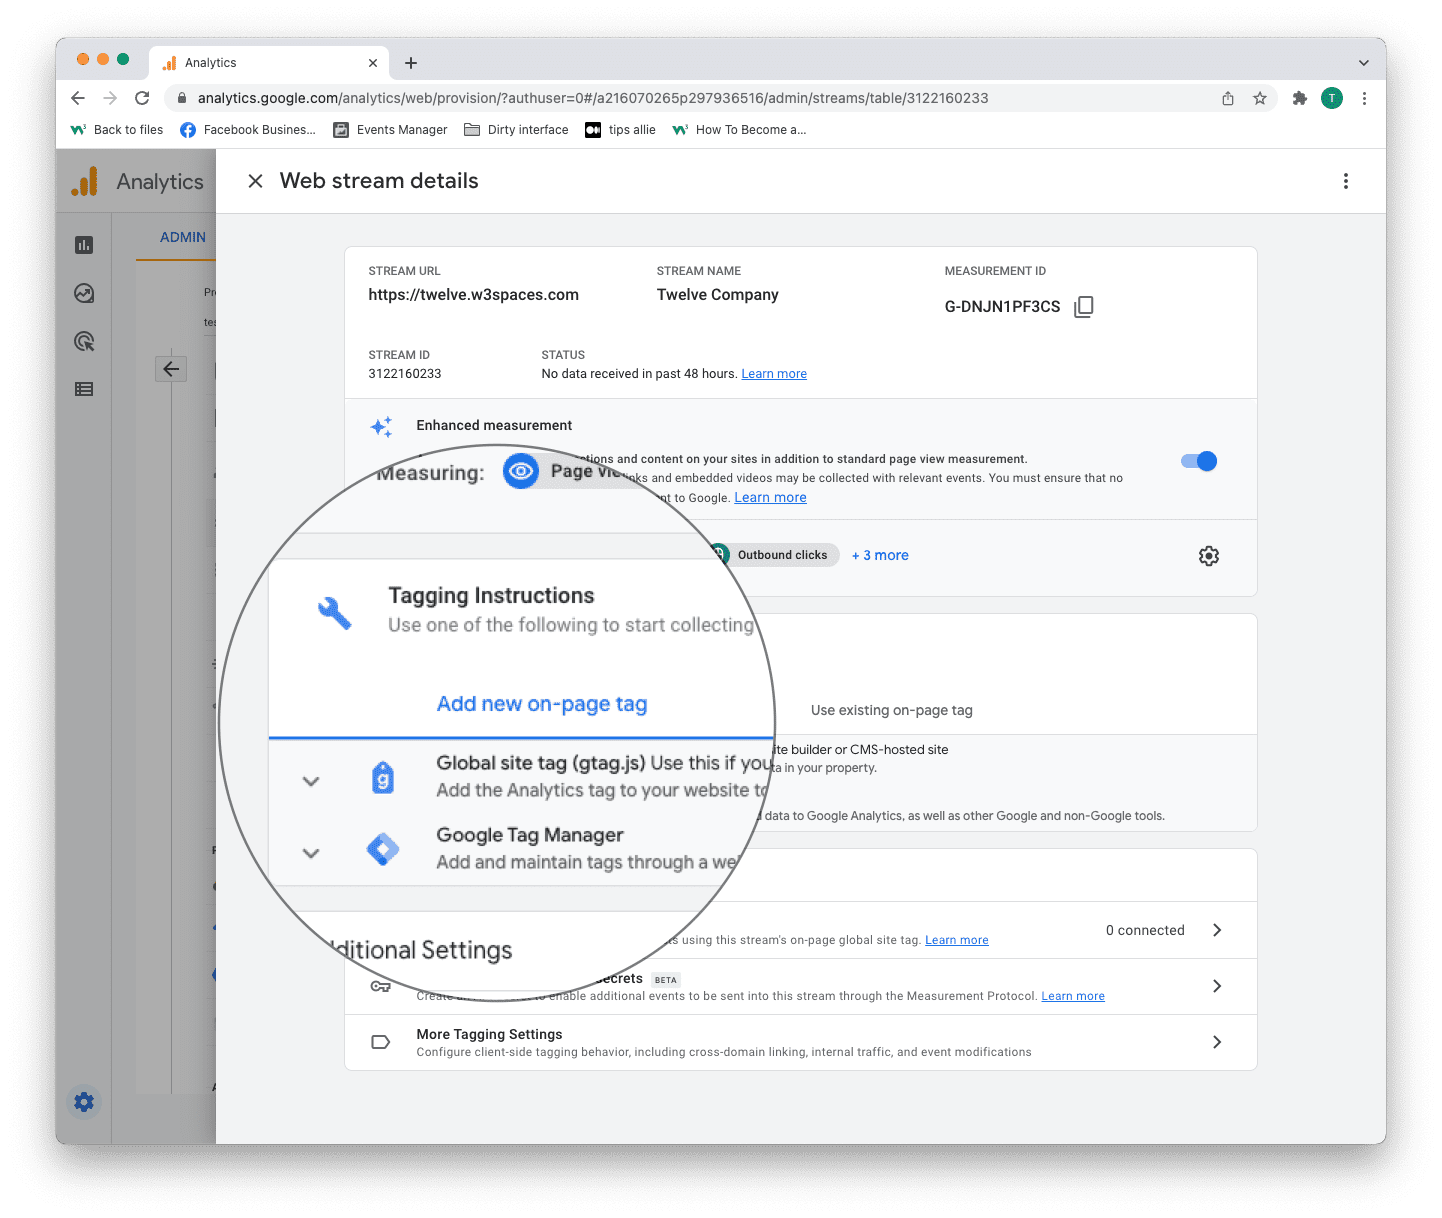
3. Tagging instructions
Decide to use Global site tag (gtag.js) or Tag manager.
This tutorial will use the Global site tag.
Installing the Global site tag is the easiest and quickest way of getting it up and running.
Step 11: Global site tag (gtag.js)
Click the "Global site tag (gtag.js)" row.
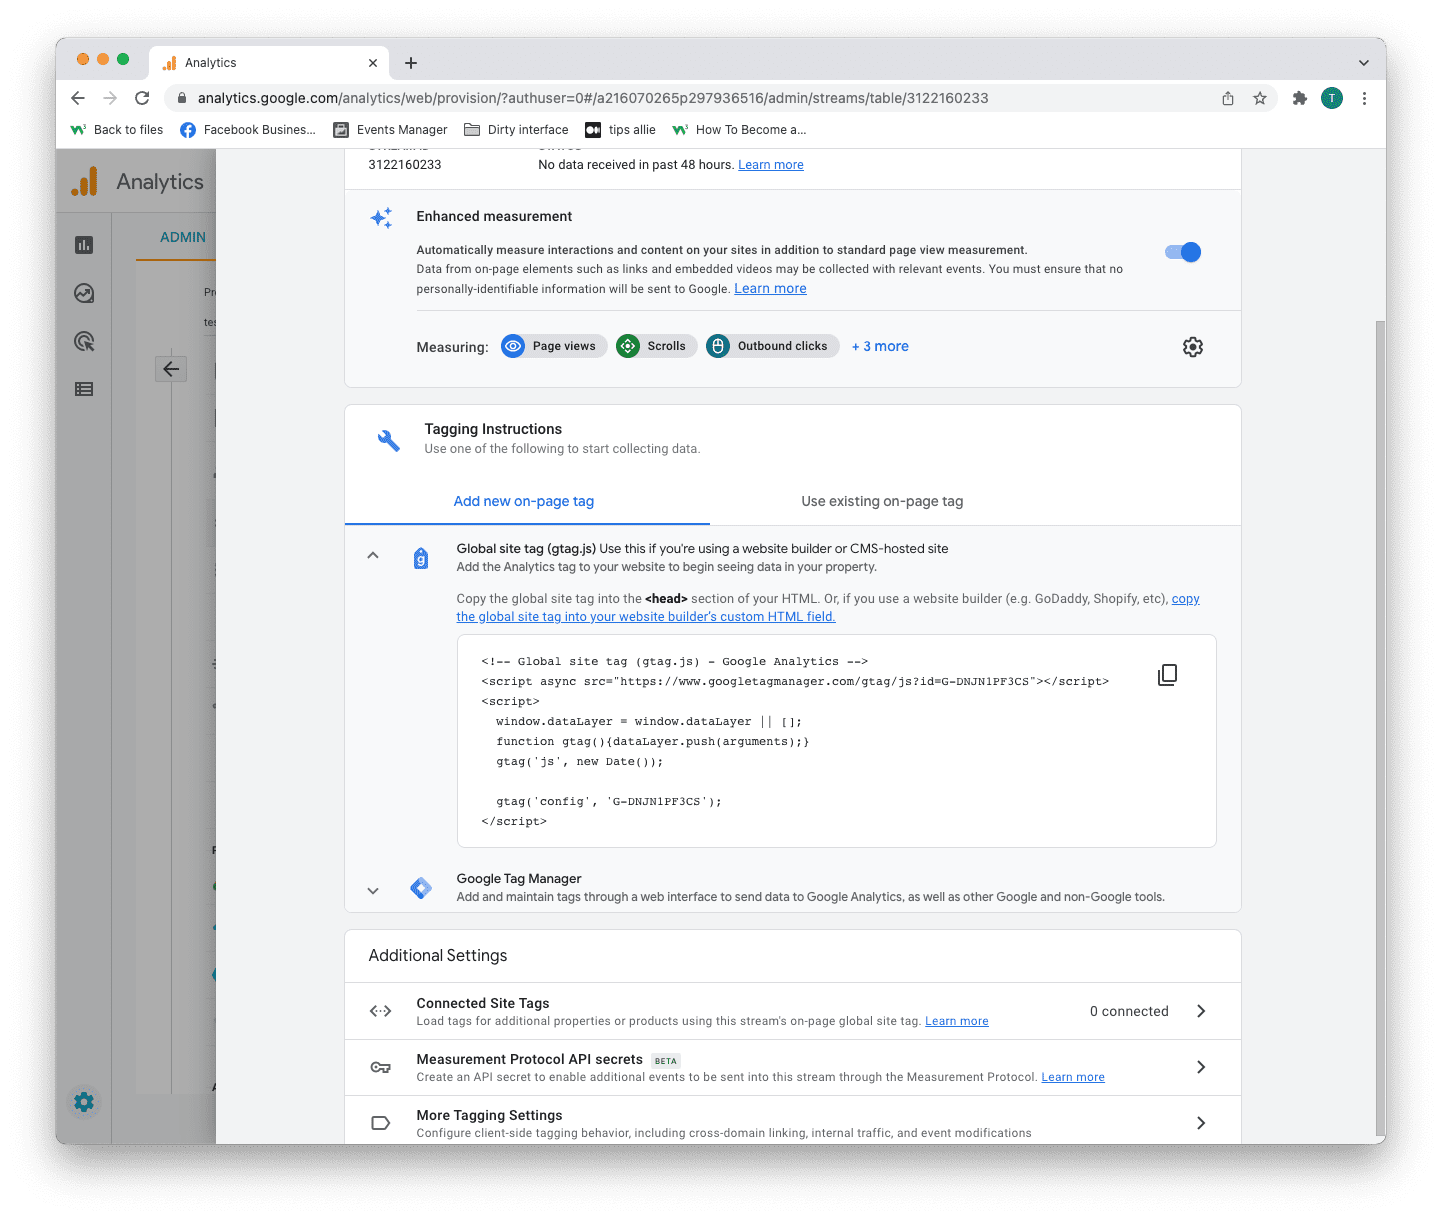
Here you can see a code snippet.
The code snippet is a script to allow Google to measure data on your site.
You can see the Measurement ID in the second last line in the code snippet.
The code snippet
<!-- Global site tag (gtag.js) - Google Analytics -->
<script async src="https://www.googletagmanager.com/gtag/js?id=G-DNJN1PF3CS"></script>
<script>
window.dataLayer = window.dataLayer || [];
function gtag(){dataLayer.push(arguments);}
gtag('js', new Date());
gtag('config', 'G-XXXXXXX');
</script>
Step 12: Enter the code snippet
Copy the code snippet.
Make sure to include your Measurement ID.
Locate the <head> tag in your HTML.
Paste the code snippet just below the <head> tag.
Save and publish the code.
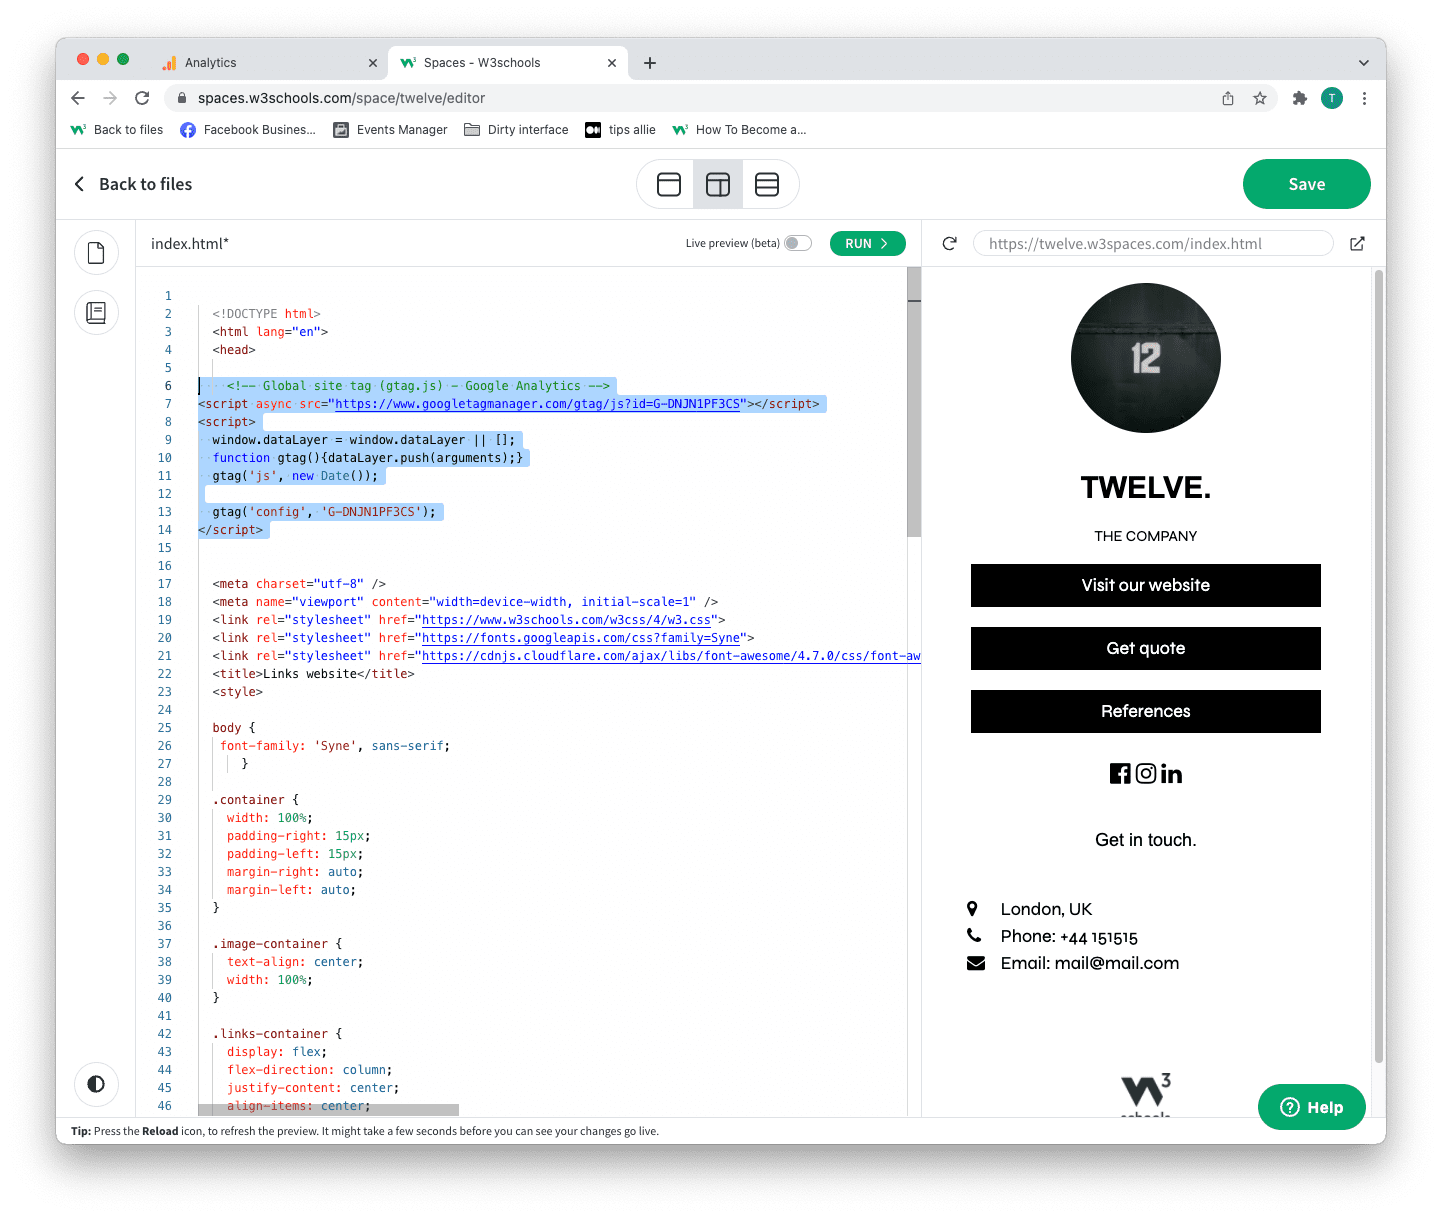
We used W3Schools Spaces in this example.
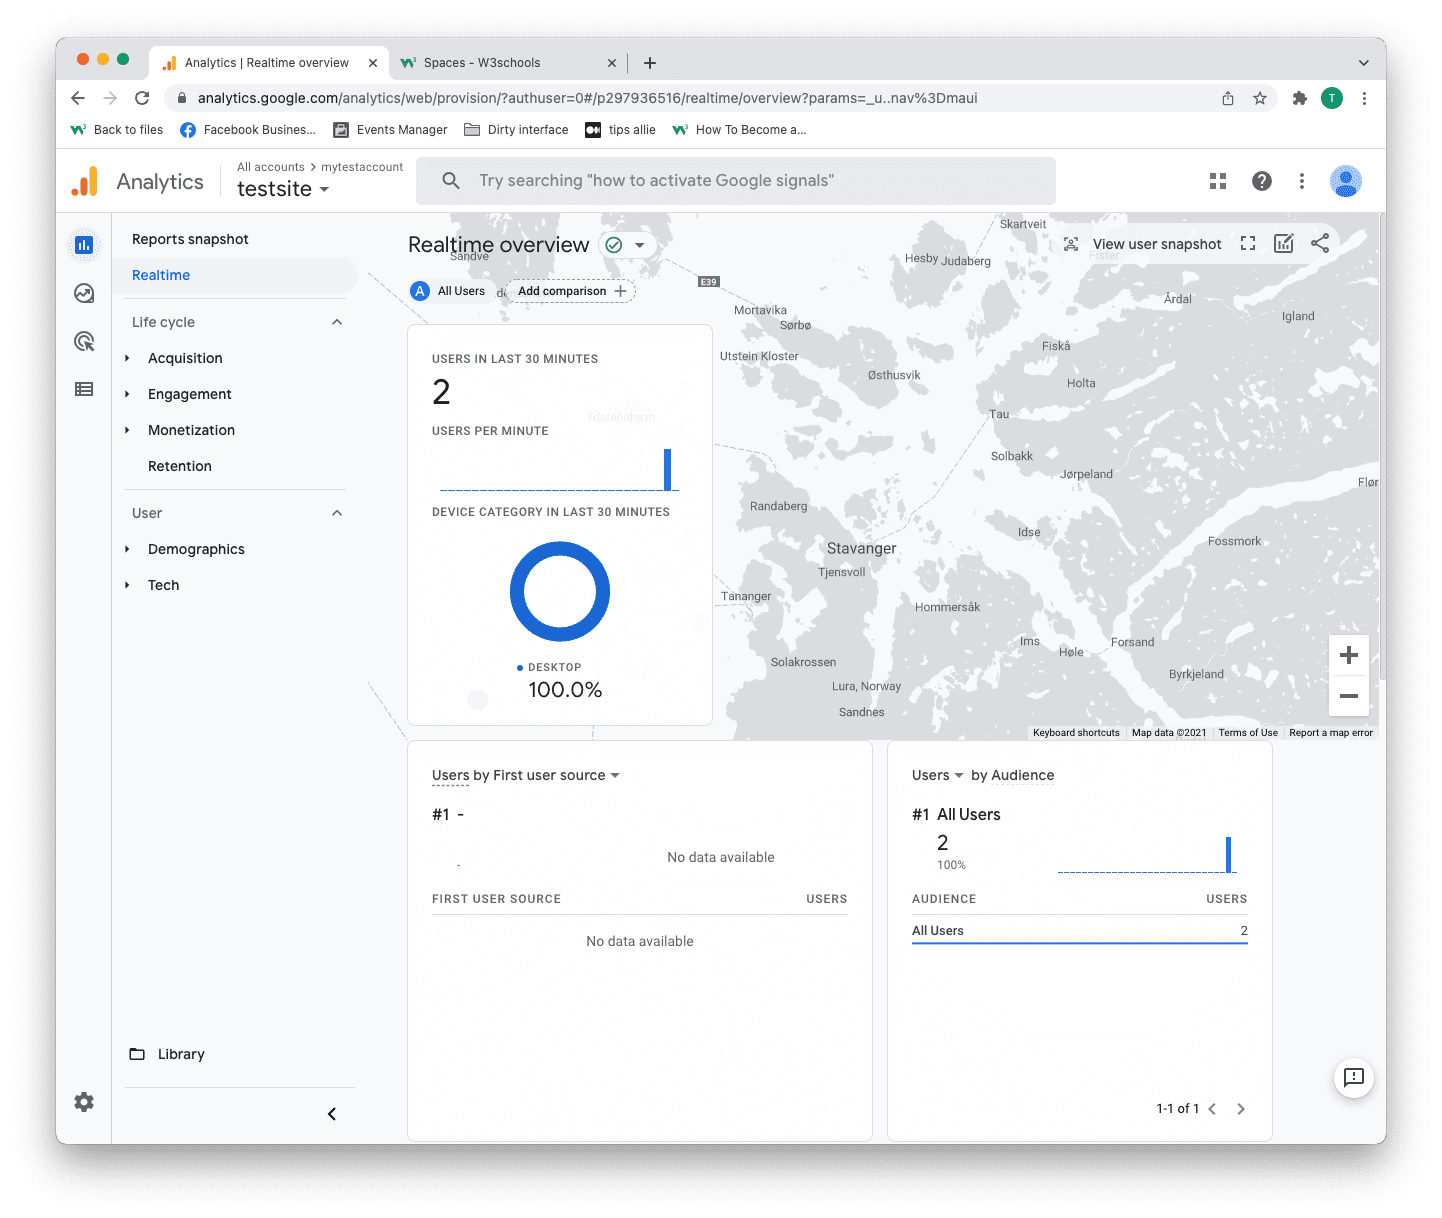
Step 13: Test that it works
Ensure that you have successfully saved and published the code snippet with the correct Measurement ID.
Open the URL for the site you have connected to the data stream.
Click on "Real time" on the menu to the left.
Confirm that you see yourself as an active user.
Congrats. You have successfully enabled Google Analytics for your site!
Explore Google Analytics
Recommended related topics are Tag manager and Events
Spend time in the service to learn about your user activity, commerce, demographics, device, and referrals.
Tip: Ever heard of W3Schools Spaces? It is a personal space where you can make a website from scratch or use a template and host it for free.
It has everything you need in the browser.
Get started in a few clicks.
Start now for free ❯* no credit card required