كيفية إنشاء محفظة
الحافظة ضرورية لجذب الانتباه.
يعد إنشاء محفظة طريقة جيدة لزيادة تواجدك عبر الإنترنت.
تُستخدم الحافظة لعرض مهاراتك ومشاريعك.
يمكن أن يساعدك في الحصول على وظيفة ، أو وظيفة حرة ، أو تدريب.
إنشاء محفظتي مجانًا »ما هي المحفظة
يمكن أن يكون للمحفظة نفس الغرض مثل السيرة الذاتية. تتم كتابة معظم السير الذاتية بنصوص ، في حين أن الحافظة مخصصة للعرض ، لذا فهي مرئية بالصور وغالبًا ما تكون أكثر تفصيلاً من السيرة الذاتية.
إنه مكان يمكنك من خلاله إظهار خبرتك في العمل وعرض المشاريع التي تفتخر بها.
يمكن مشاركة محفظتك عبر الإنترنت من خلال ارتباطها بالشركات ومديري التوظيف والقائمين بالتوظيف ، حتى يتمكنوا من ملاحظتك.
يتعلق الأمر بإظهار ومنح الآخرين فهمًا لمن أنت كمحترف.
لماذا إنشاء محفظة
إنها طريقة رائعة لتنمية تواجدك على الإنترنت وجذب الانتباه.
يمكن استخدامه للحصول على وظيفة أو لجذب العملاء إلى خدماتك.
وجوده على الإنترنت كموقع ويب. يجعل من الممكن للأشخاص في جميع أنحاء العالم العثور عليك.
سيعطي تصميم البورفوليو للقارئ انطباعًا عن هويتك. تأكد من ظهوره بطريقة جيدة ورائعة!
من هو المحفظة ل
يمكن أن يكون إنشاء محفظة أمرًا مهمًا لحياتك المهنية.
يمكن أن يكون مفيدًا عند البحث عن وظيفة أو عمل مستقل أو عرض مهاراتك تجاه عميل جديد.
الأدوار النموذجية التي تستخدم الحافظات هي أدوار مهنية مثل ، على سبيل المثال لا الحصر:
- مطوري البرامج
- مصممي UX
- مصممي الجرافيك
- المصورين
- متخصصو التسويق
- المهندسين المعماريين
- الكتاب
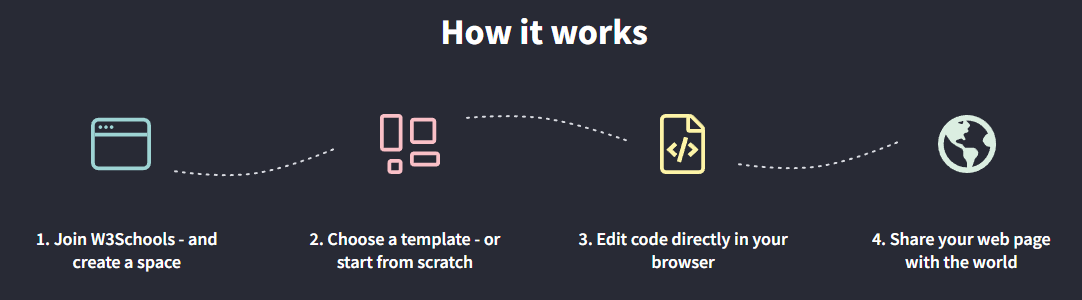
هل سمعت عن W3Schools Spaces ؟ هنا يمكنك إنشاء محفظتك من البداية أو استخدام قالب واستضافته مجانًا.
ابدأ مجانًا ❯* بطاقة الإئتمان غير مطالب بها
ما هي أهم أقسام محفظة
هناك العديد من الطرق المختلفة لإنشاء محفظة.
تعتمد كيفية إنشائه على نوع المحترف الذي أنت عليه ، ومن تقوم ببنائه من أجله ، ولماذا تقوم بإنشائه.
عليك أن تختبر وتفشل وتتعلم لمعرفة نوع الحافظة المناسب لك!
هناك بعض الأقسام التي تعتبر أساسية لجميع أنواع المحافظ ، نلخصها أدناه:
1. قسم البطل.
قسم الأبطال هو أول ما يراه الناس عندما يدخلون محفظتك.
يتم عرضه تحت شعارك والقائمة.
يساعد قسم الأبطال القارئ على فهم ما تقدمه ، ولماذا يجب أن يعمل معك شخص ما ، والقيمة التي تقدمها لخدماتك.
غالبًا ما يحتوي على زر عبارة تحث المستخدم على اتخاذ إجراء مثل "اتصل بي" أو "حجز اجتماع" أو ما شابه.
2. قسم عني.
أعط القارئ ملخصًا قصيرًا عن نفسك.
قم بتضمين مواضيع مثل التعليم والخبرة العملية والمشاريع والاهتمامات.
ساعد القارئ على فهم ما أنت متحمس له وقوىك الخارقة (الأشياء التي تجيدها حقًا).
تذكر أن تجعلها قصيرة وبسيطة.
3. قسم المشاريع.
ضع قائمة بالمشاريع التي عملت عليها. الطريقة الأكثر استخدامًا هي ترتيب القائمة حسب التاريخ ، ولكن في بعض الحالات قد يكون من المنطقي ترتيبها بطريقة منطقية أخرى.
أضف التفاصيل إلى كل مشروع ، والتي تتضمن دورك ، وما فعلته ، وكيف انتهى المشروع.
تعد إضافة الصور لإبراز ما قمت ببنائه ميزة إضافية! اعرض الأشياء التي تفتخر بها.
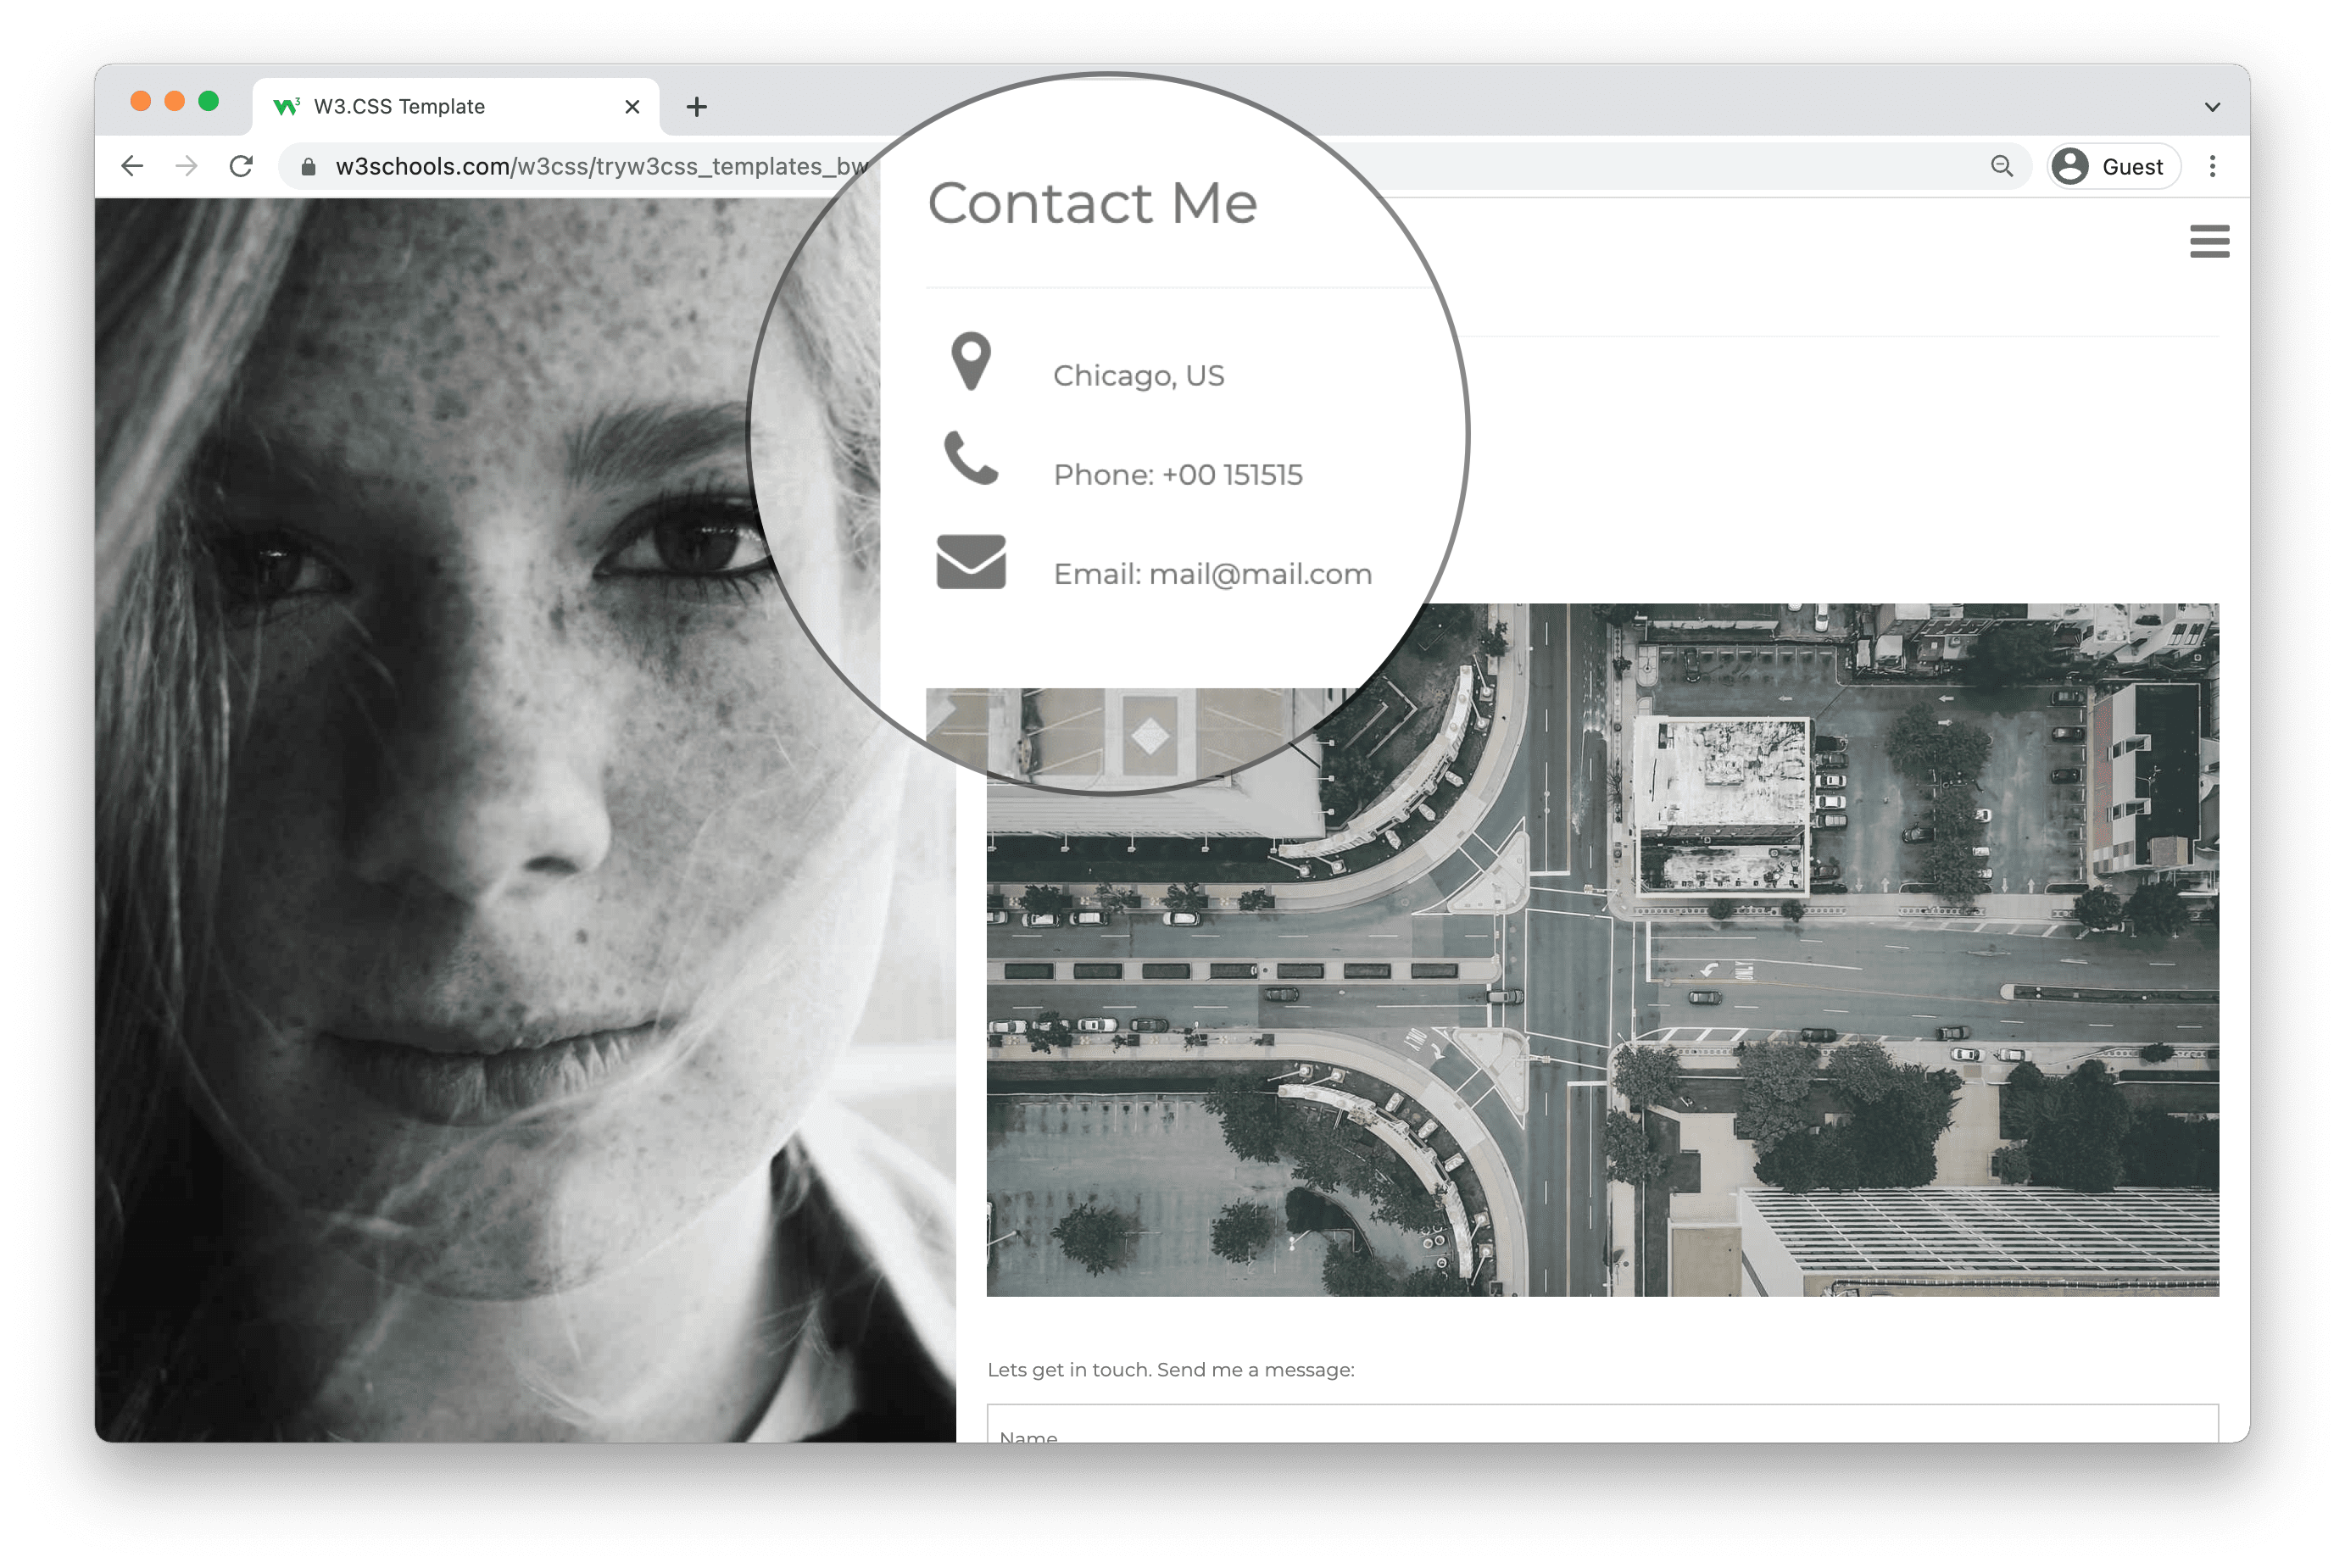
4. قسم الاتصال بي.
دع القارئ يعرف كيف وأين يمكنه الاتصال بك.
أضف تفاصيل الاتصال الخاصة بك وقنوات الاتصال الأخرى مثل ملفك الشخصي على GitHub و LinkedIn و Youtube وما إلى ذلك.
أمثلة المحفظة
تحقق من بعض أمثلة المحفظة.
يمكنك تحميل قوالب الحافظة في W3Schools Spaces . ابدأ بنشر محفظتك ببضع نقرات.
انشر محفظتي مجانًا ❯* بطاقة الإئتمان غير مطالب بها
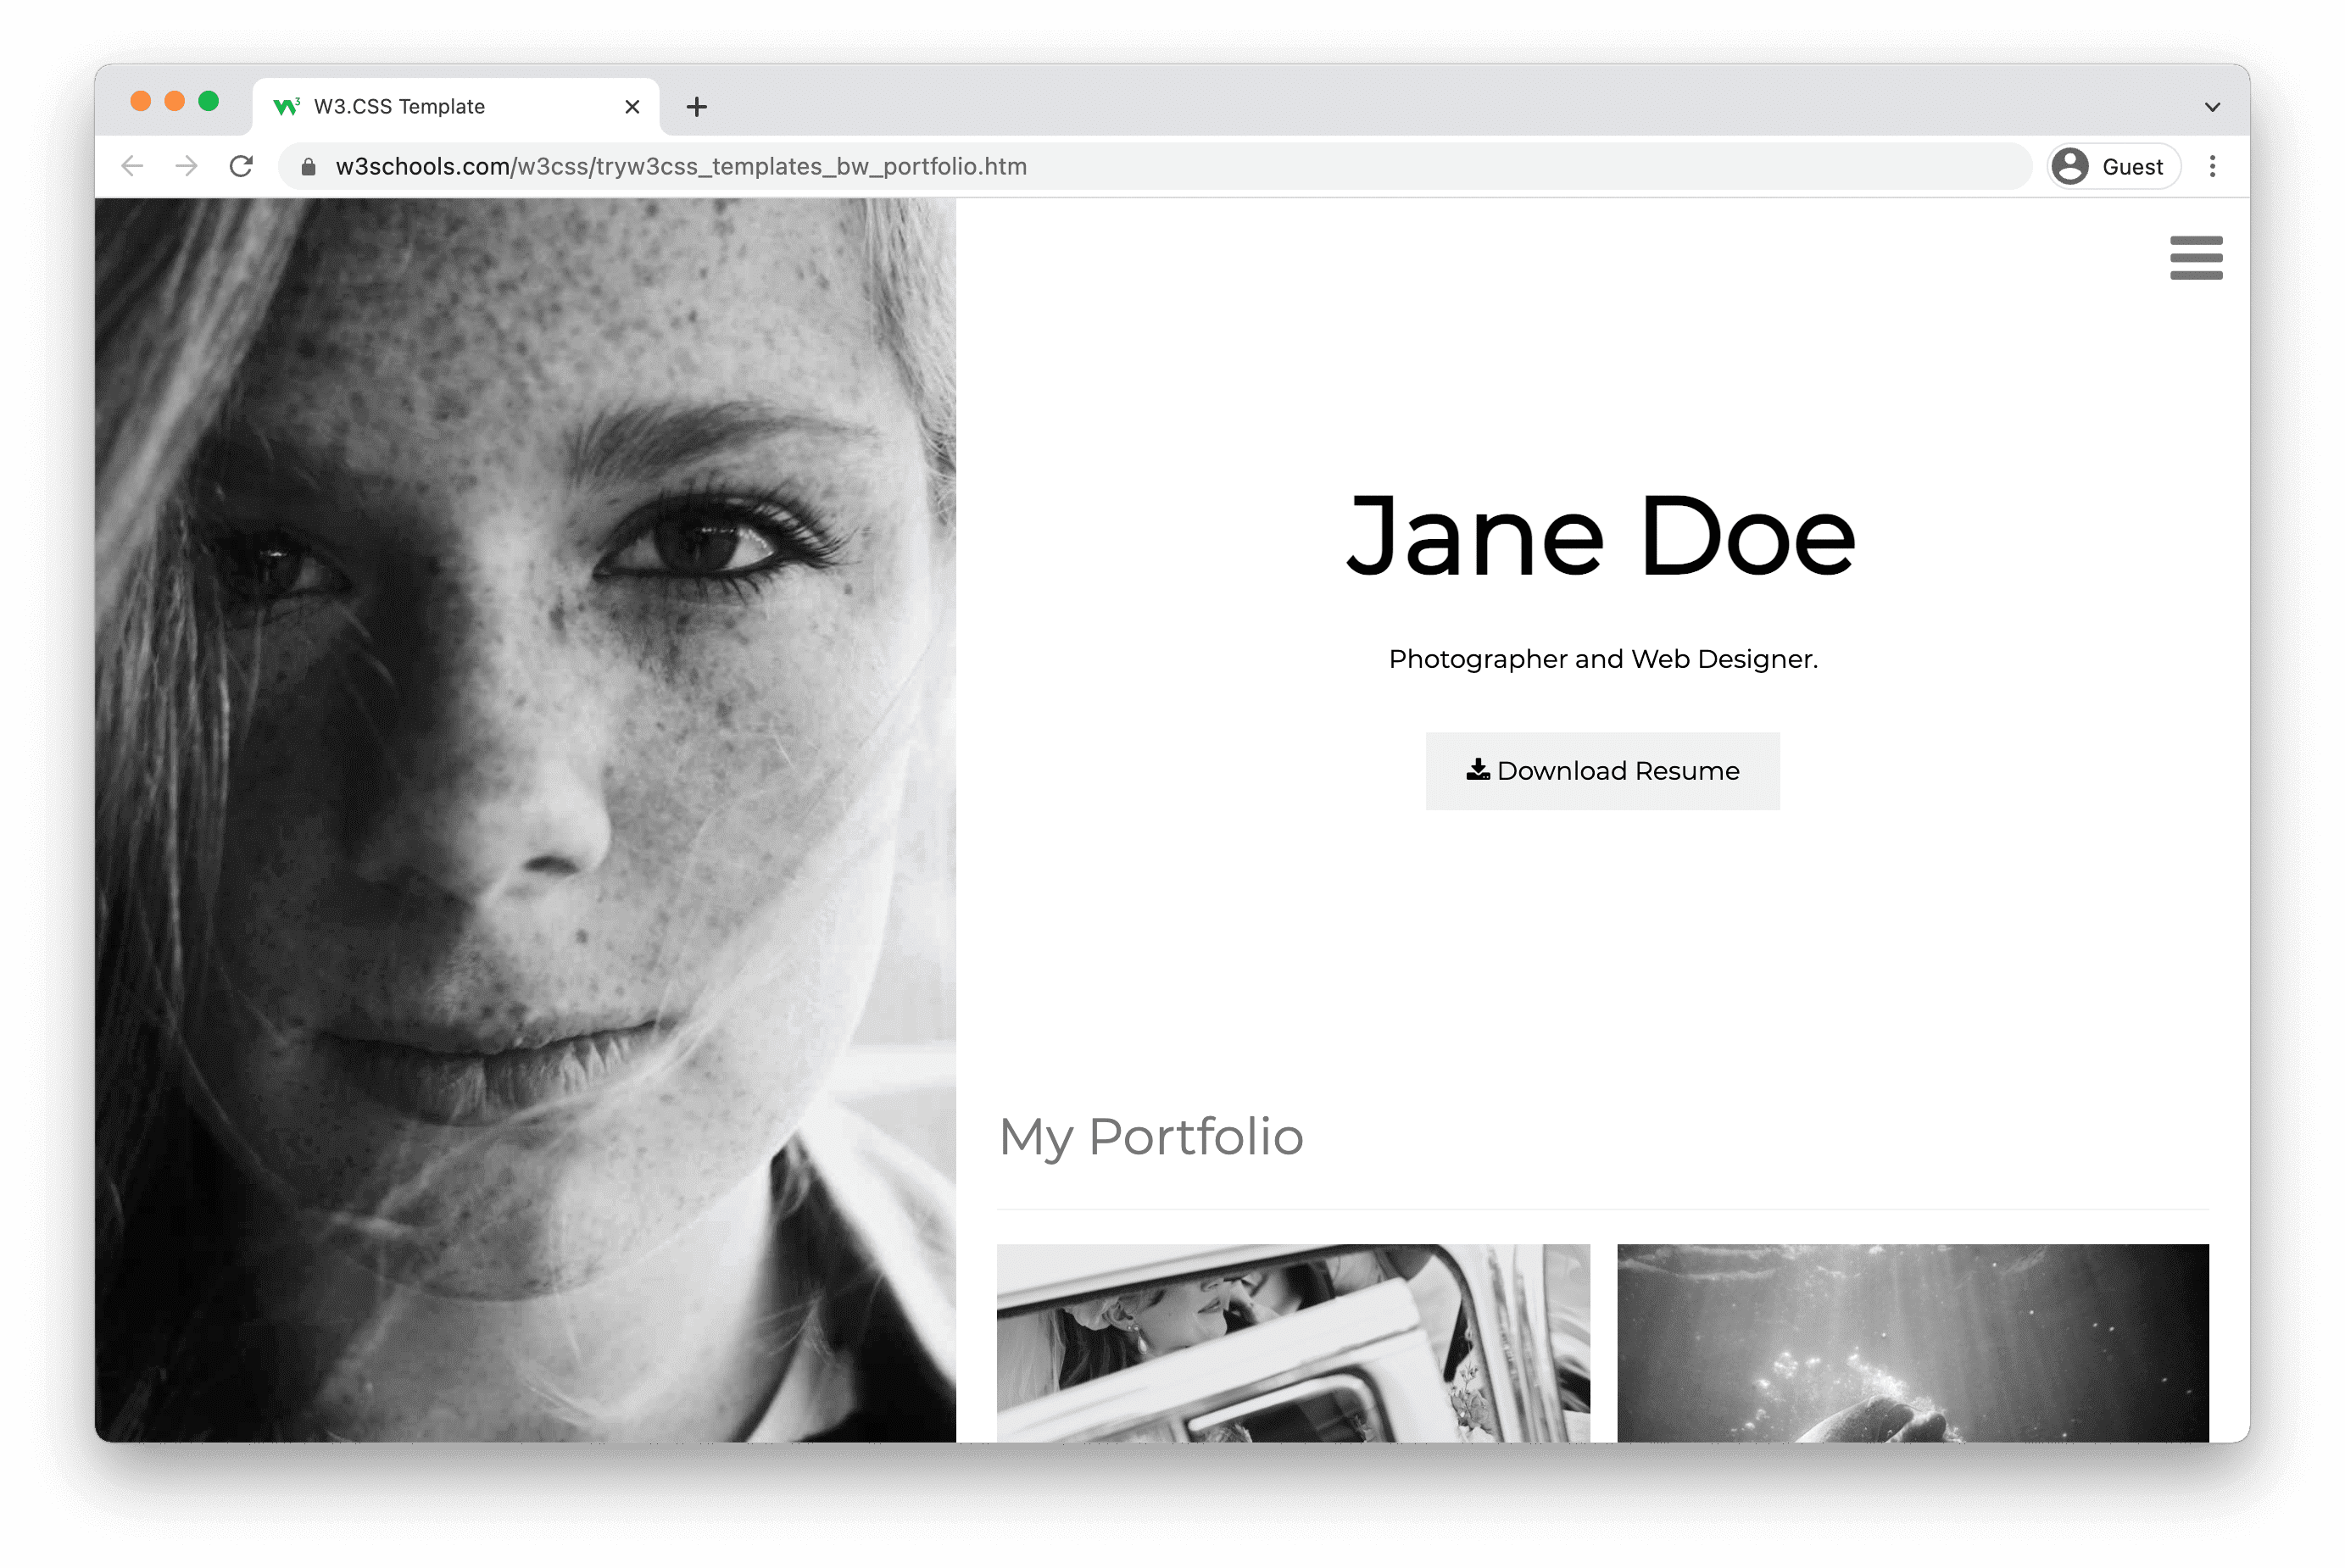
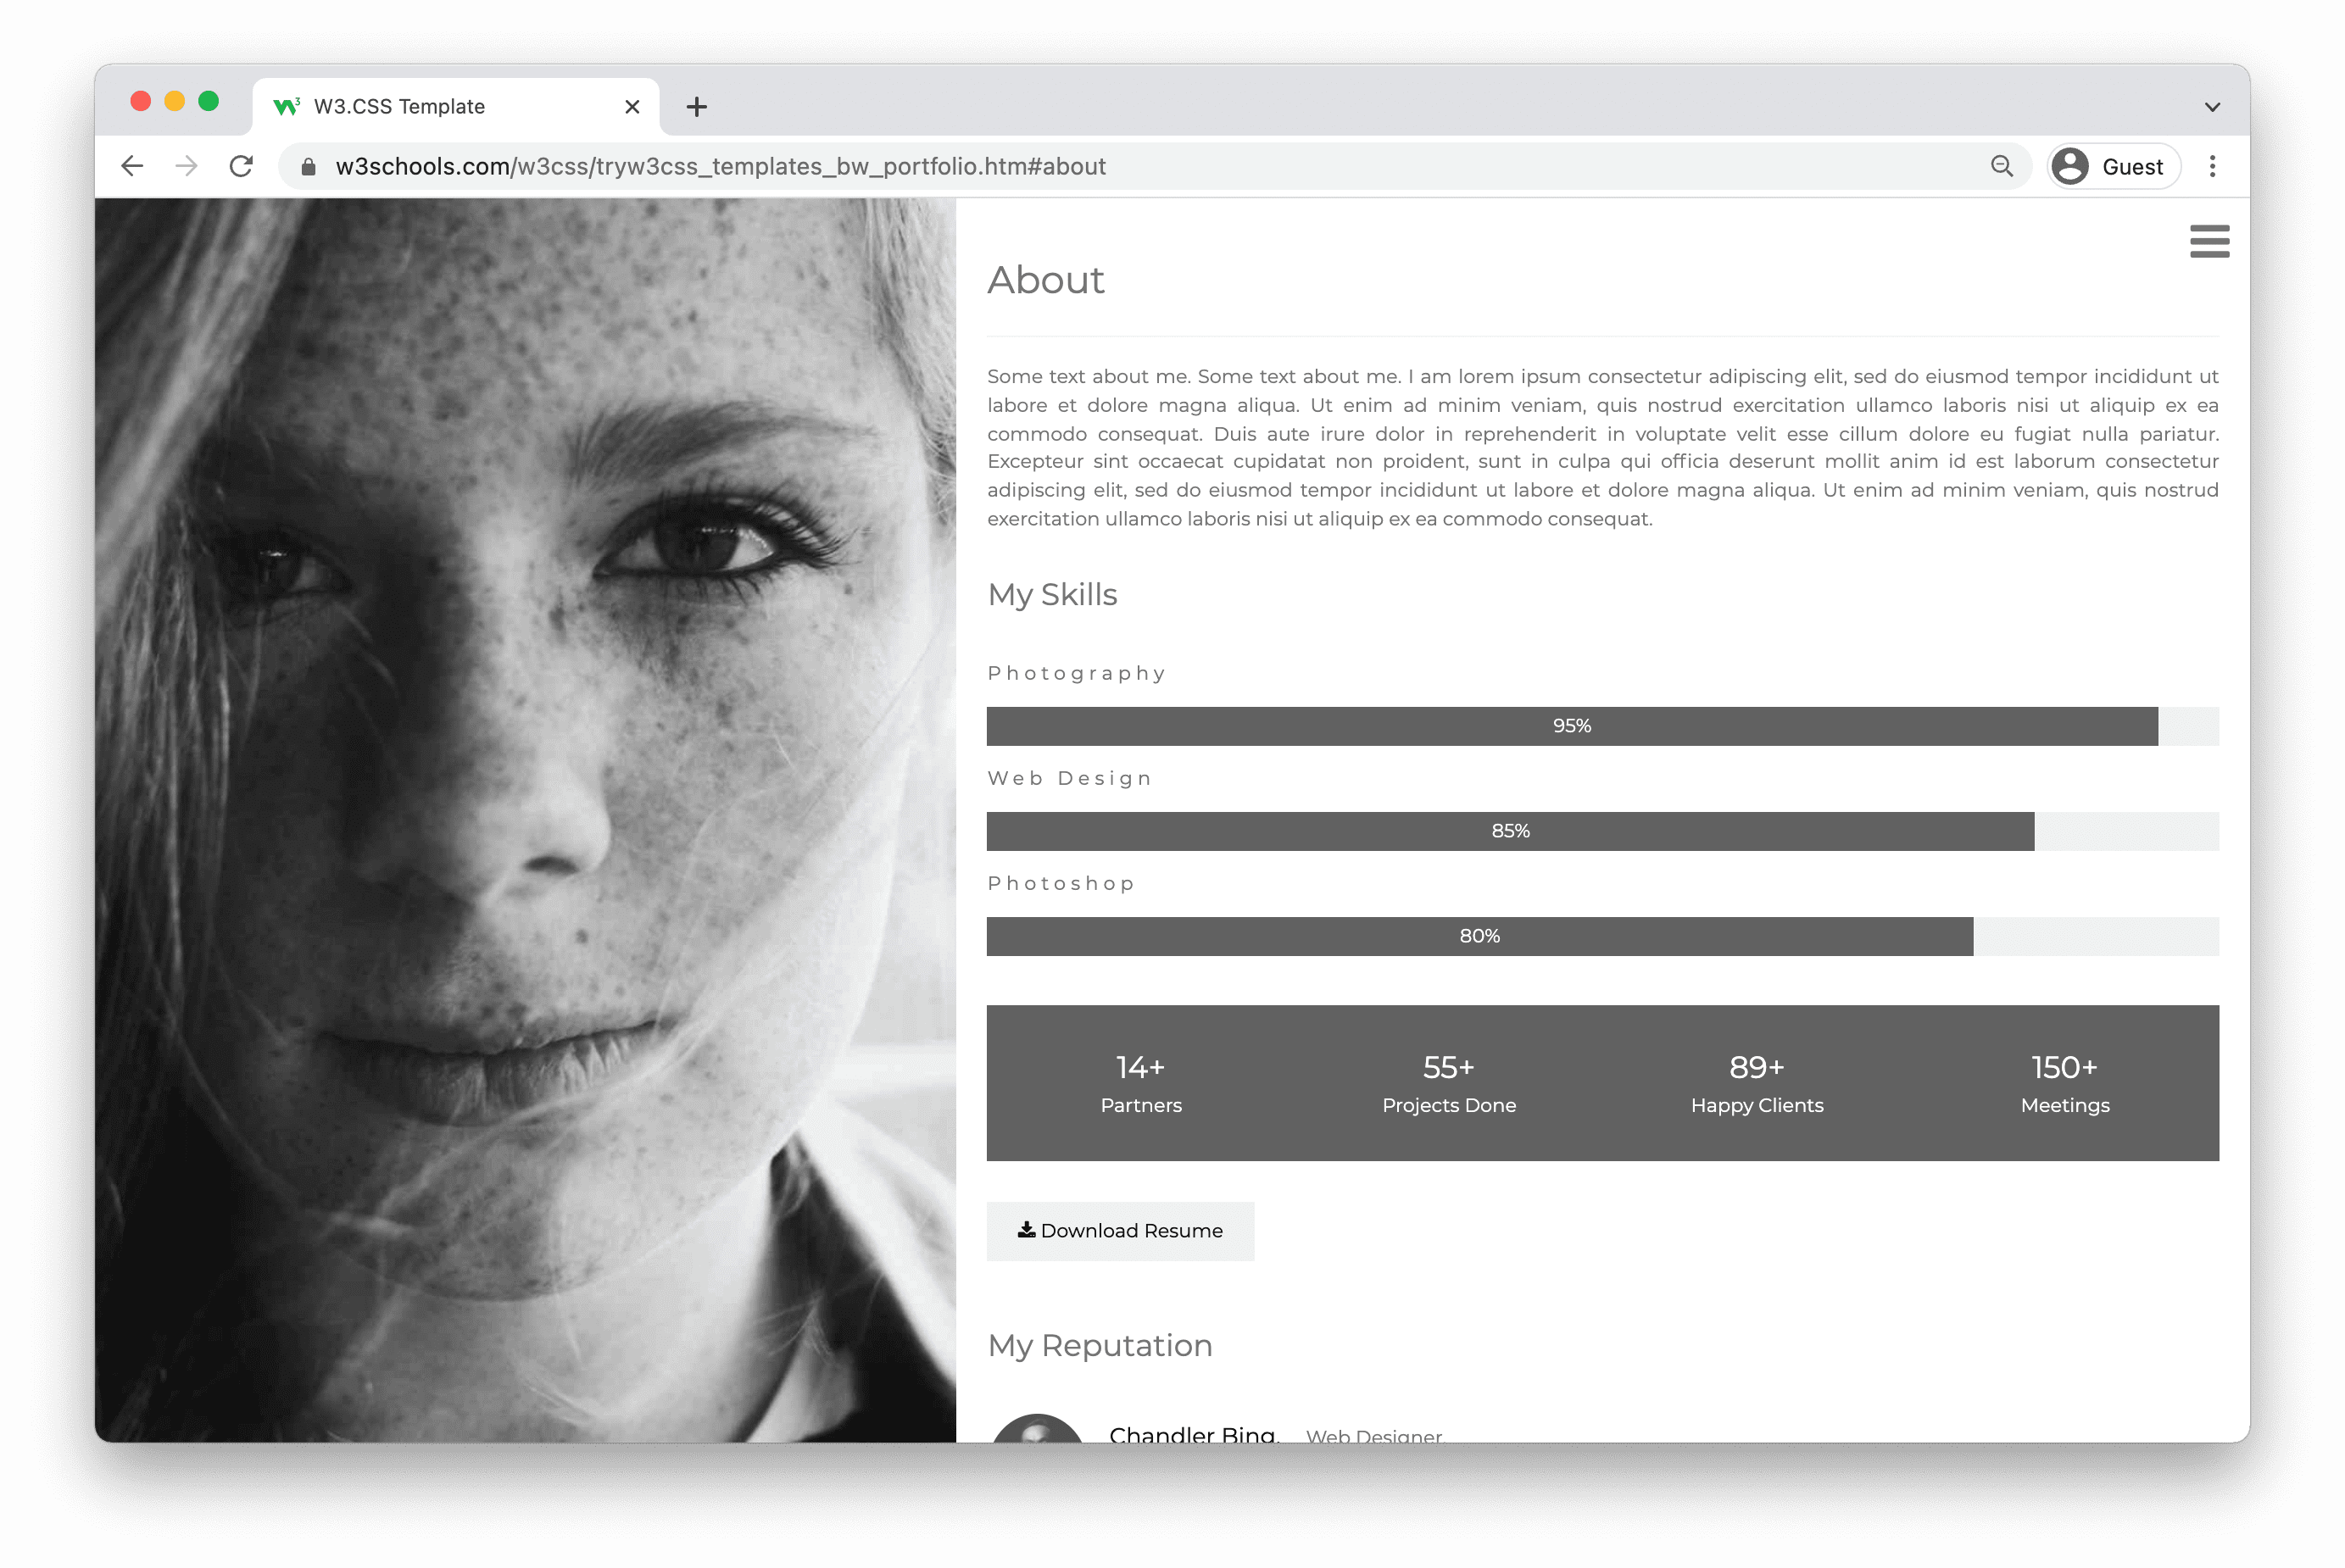
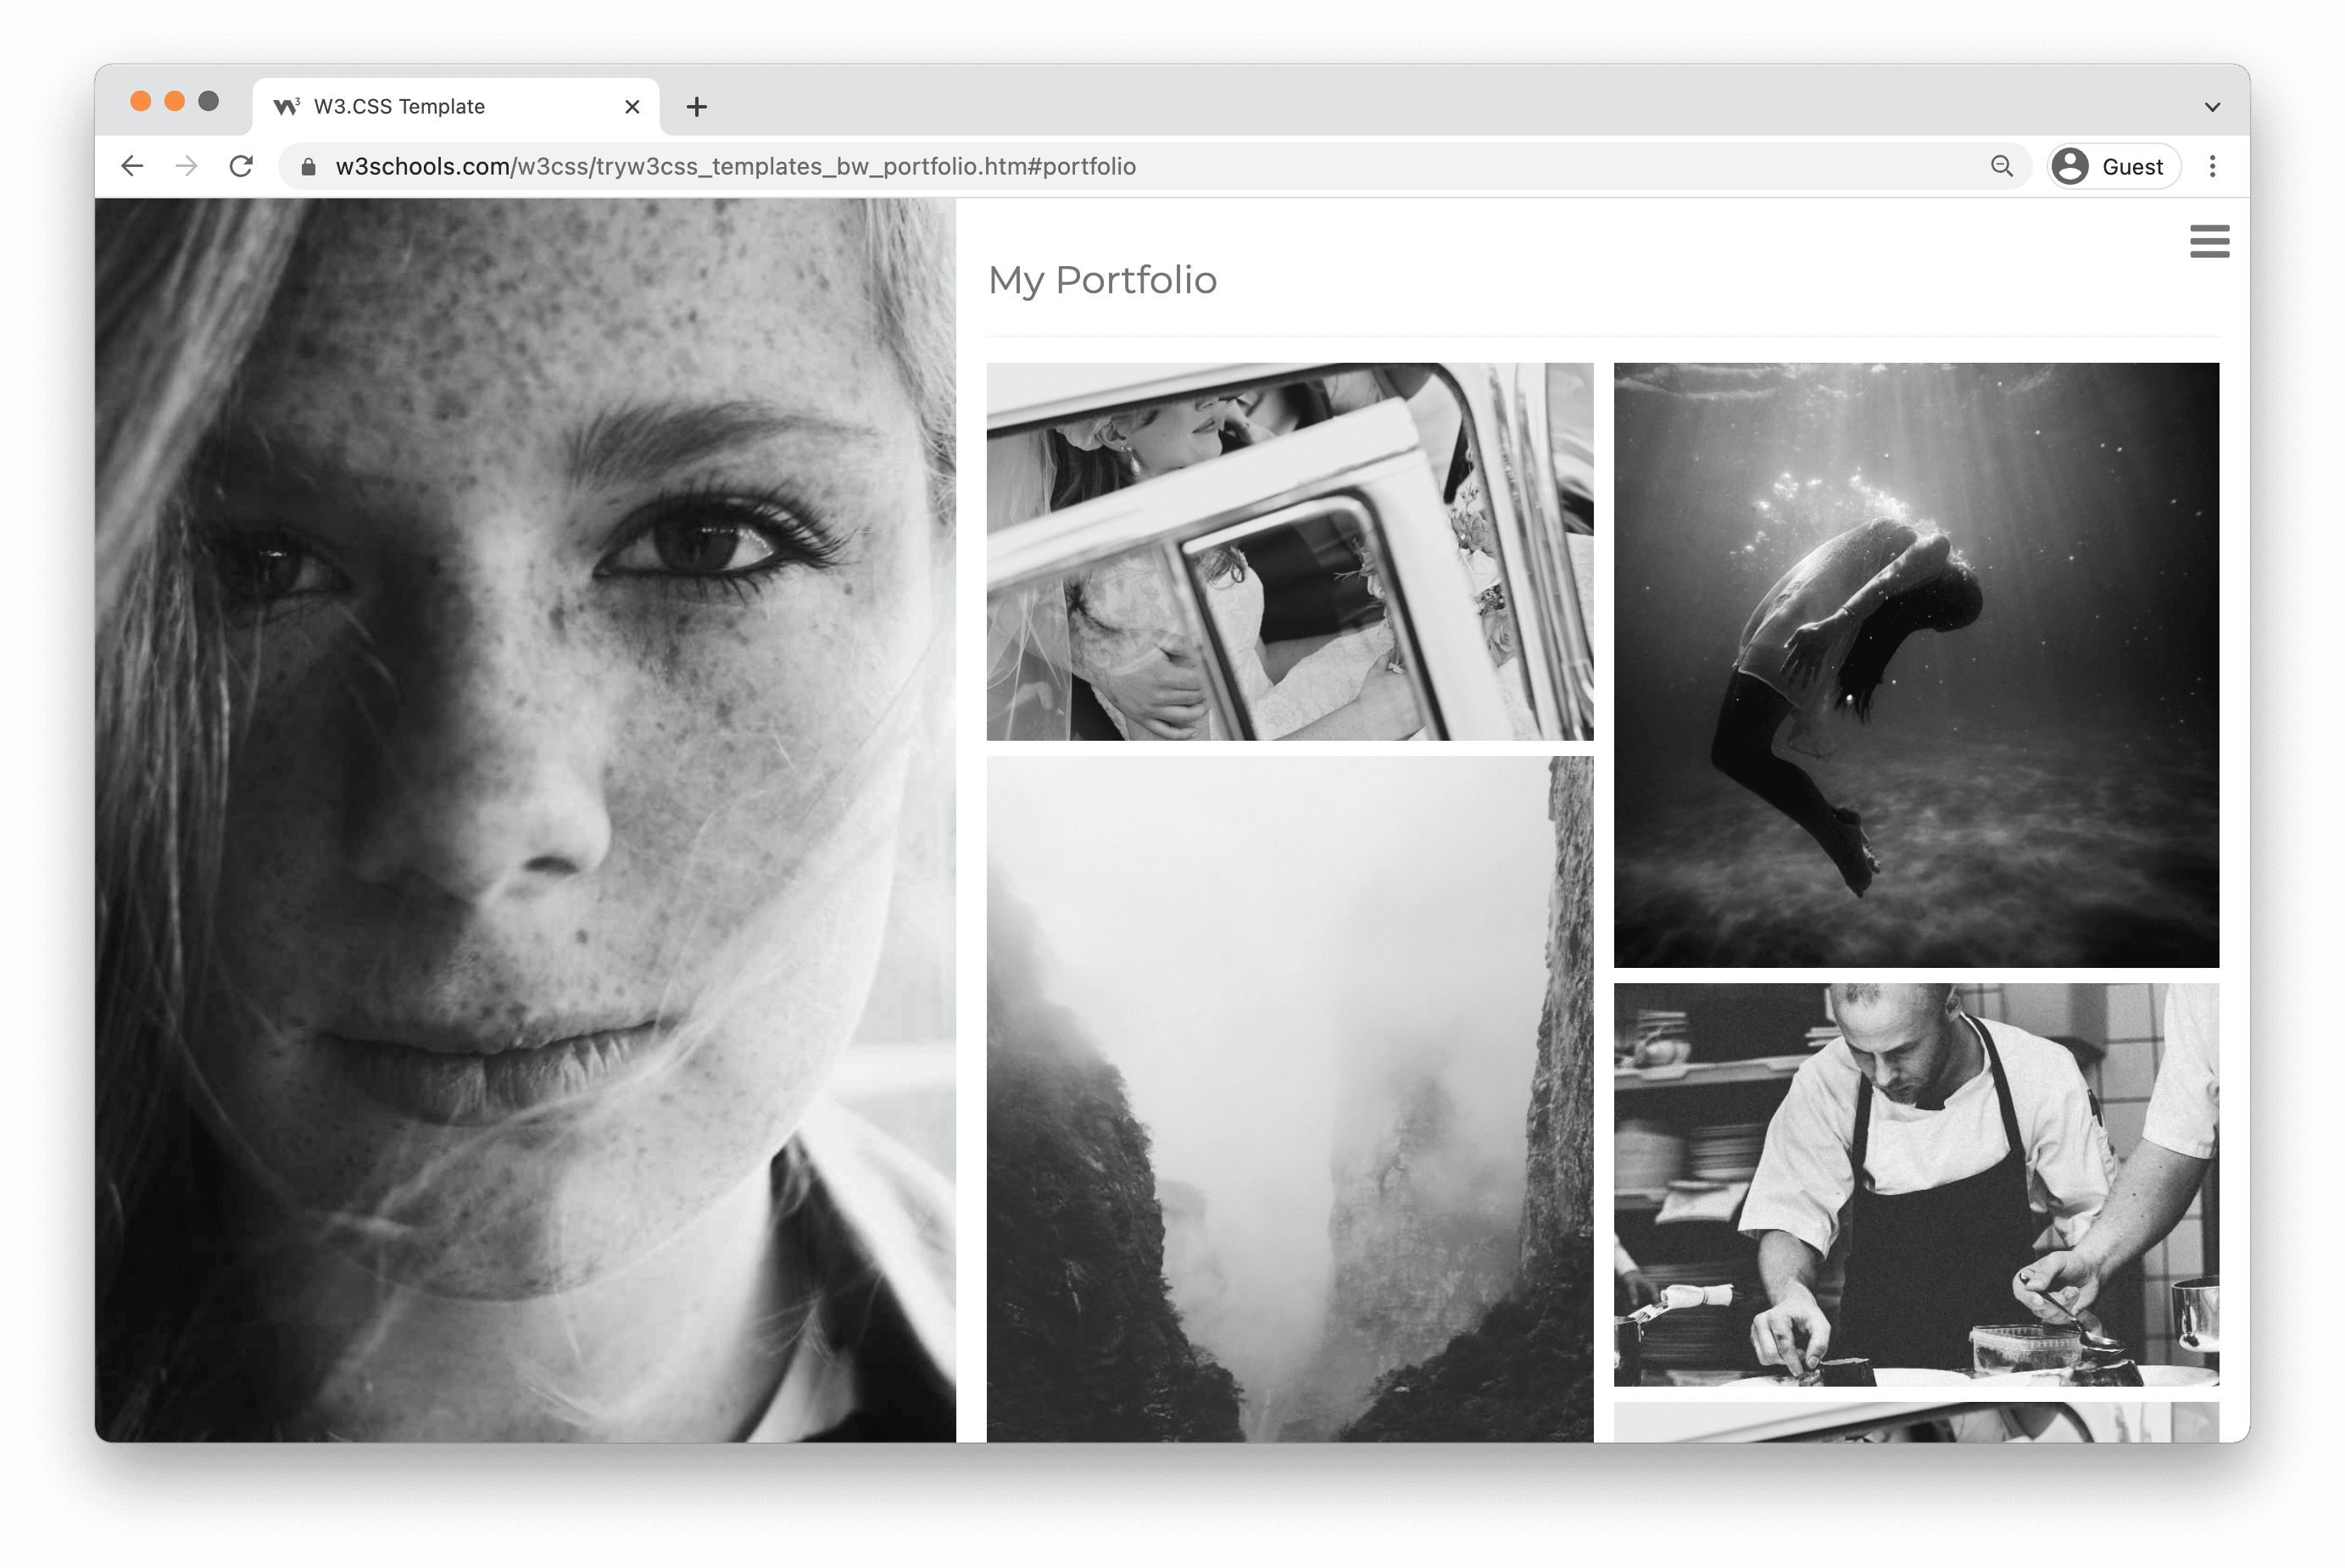
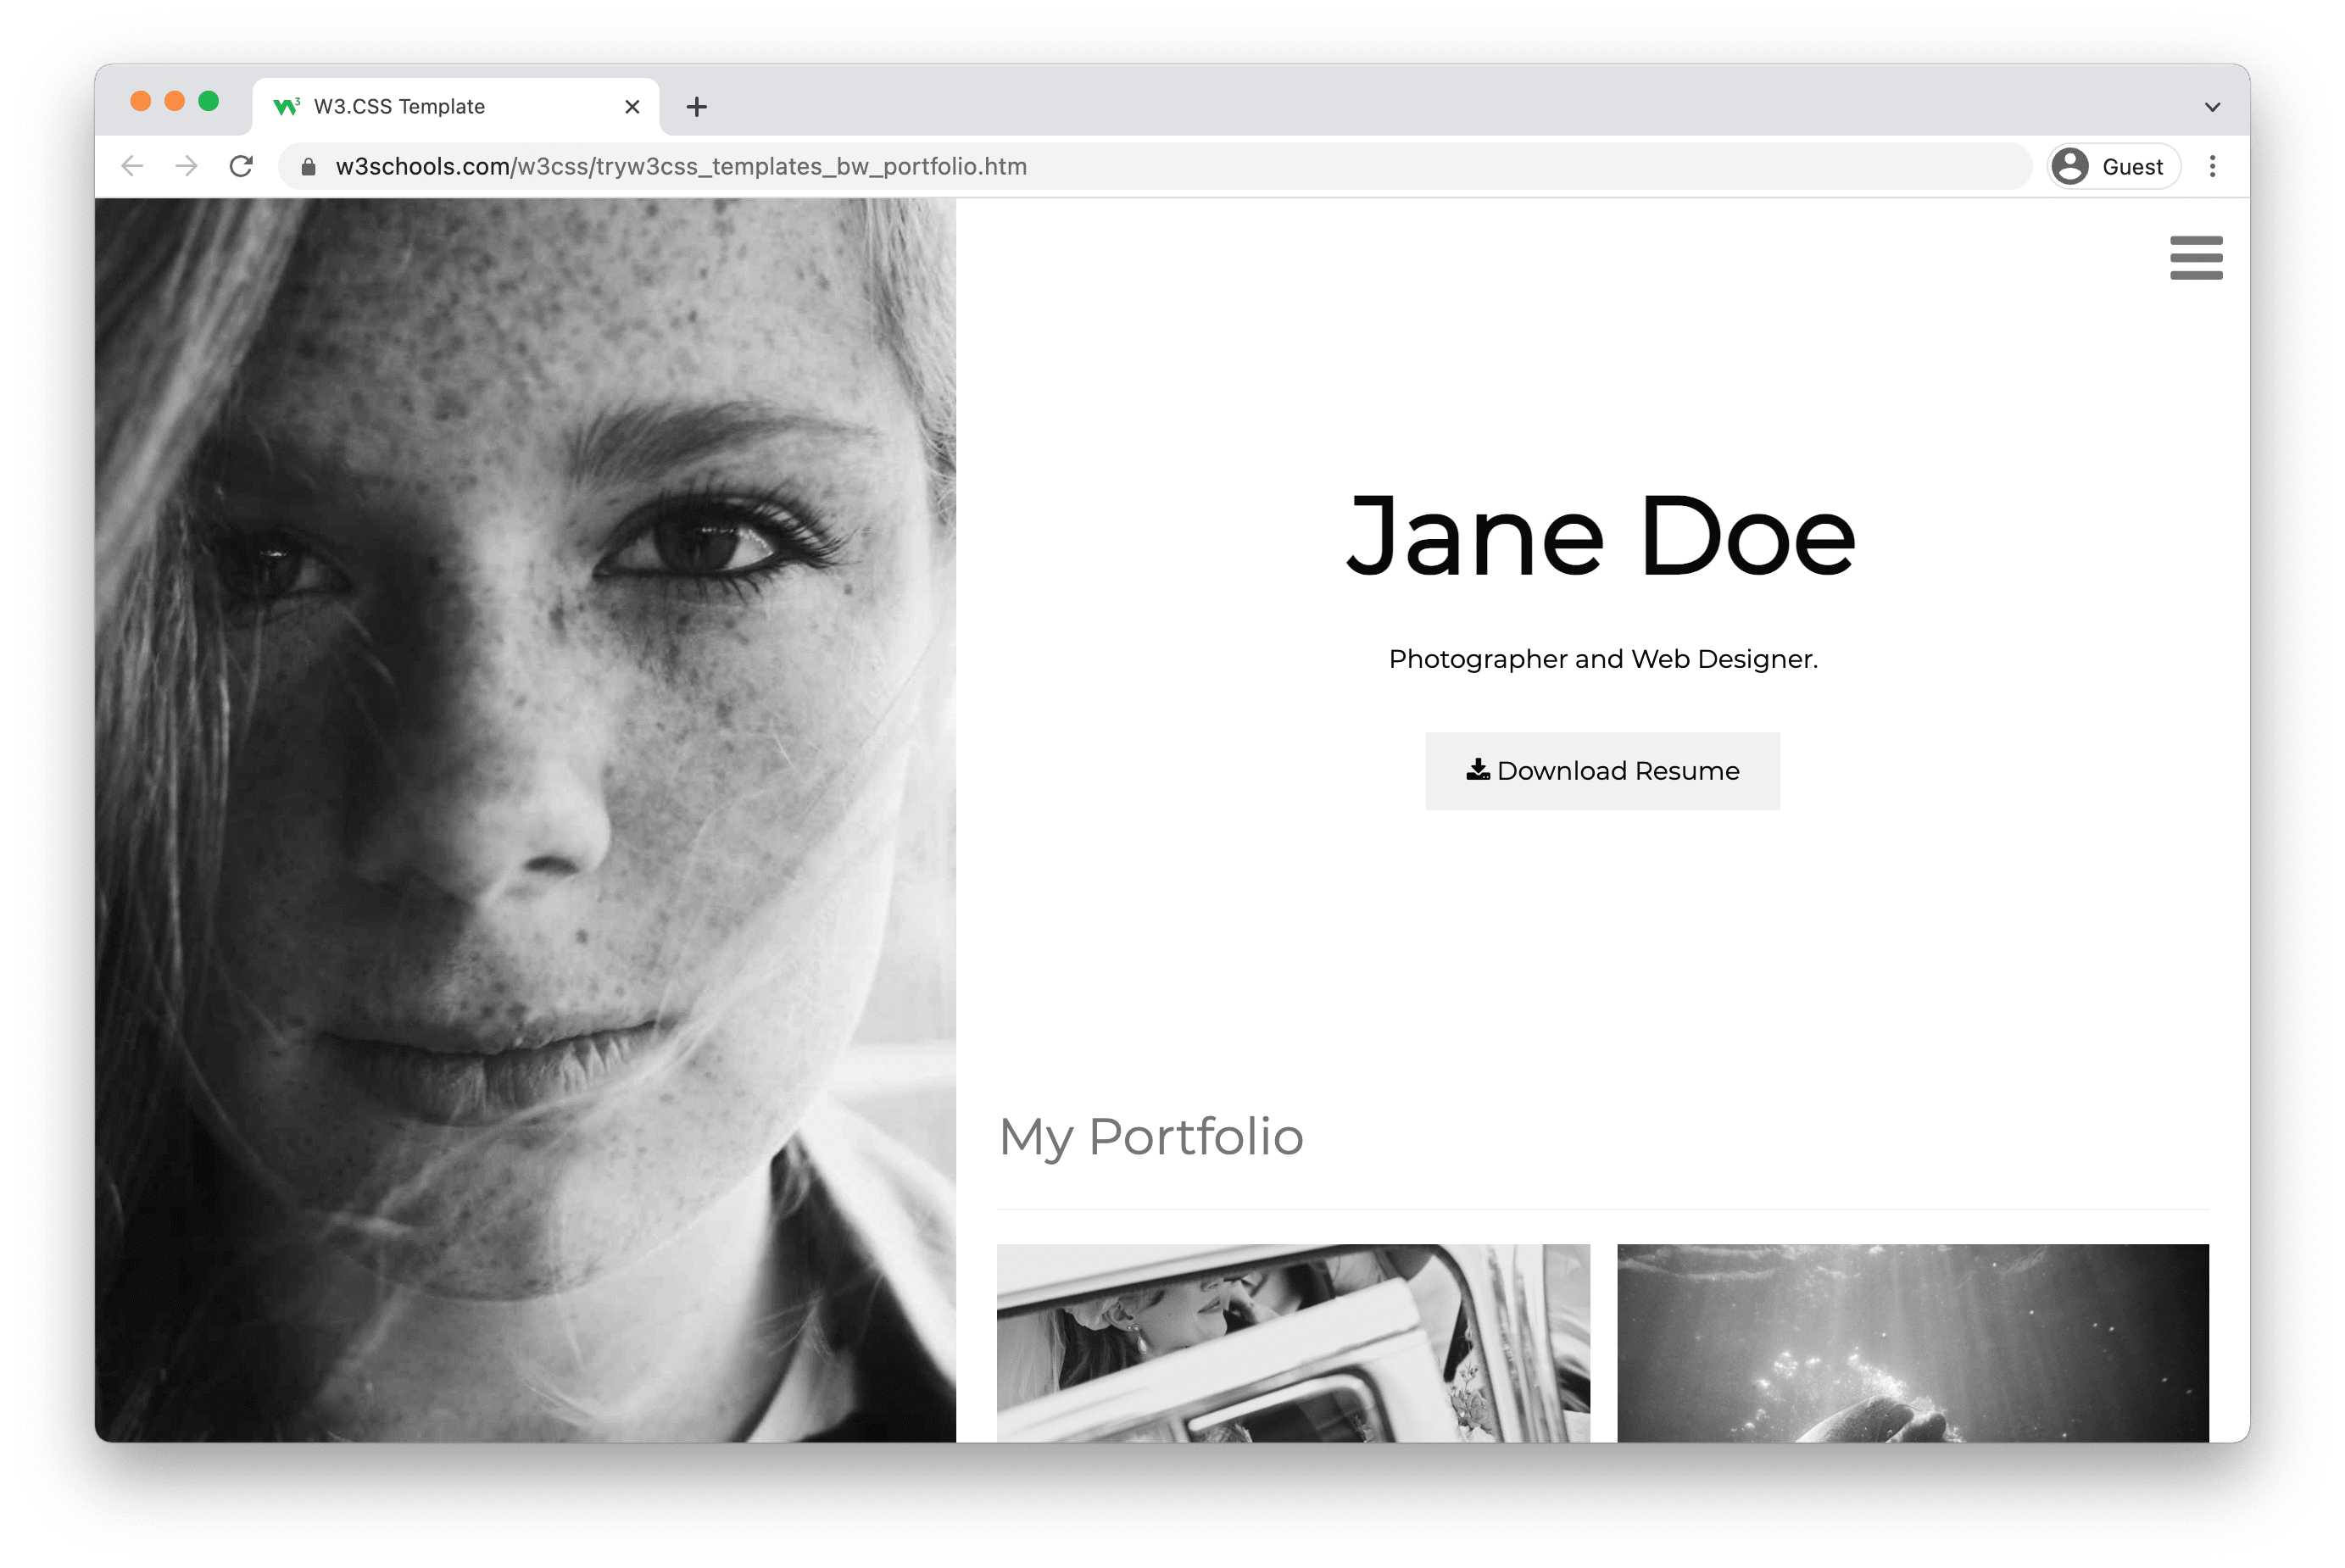
قالب محفظة أبيض وأسود
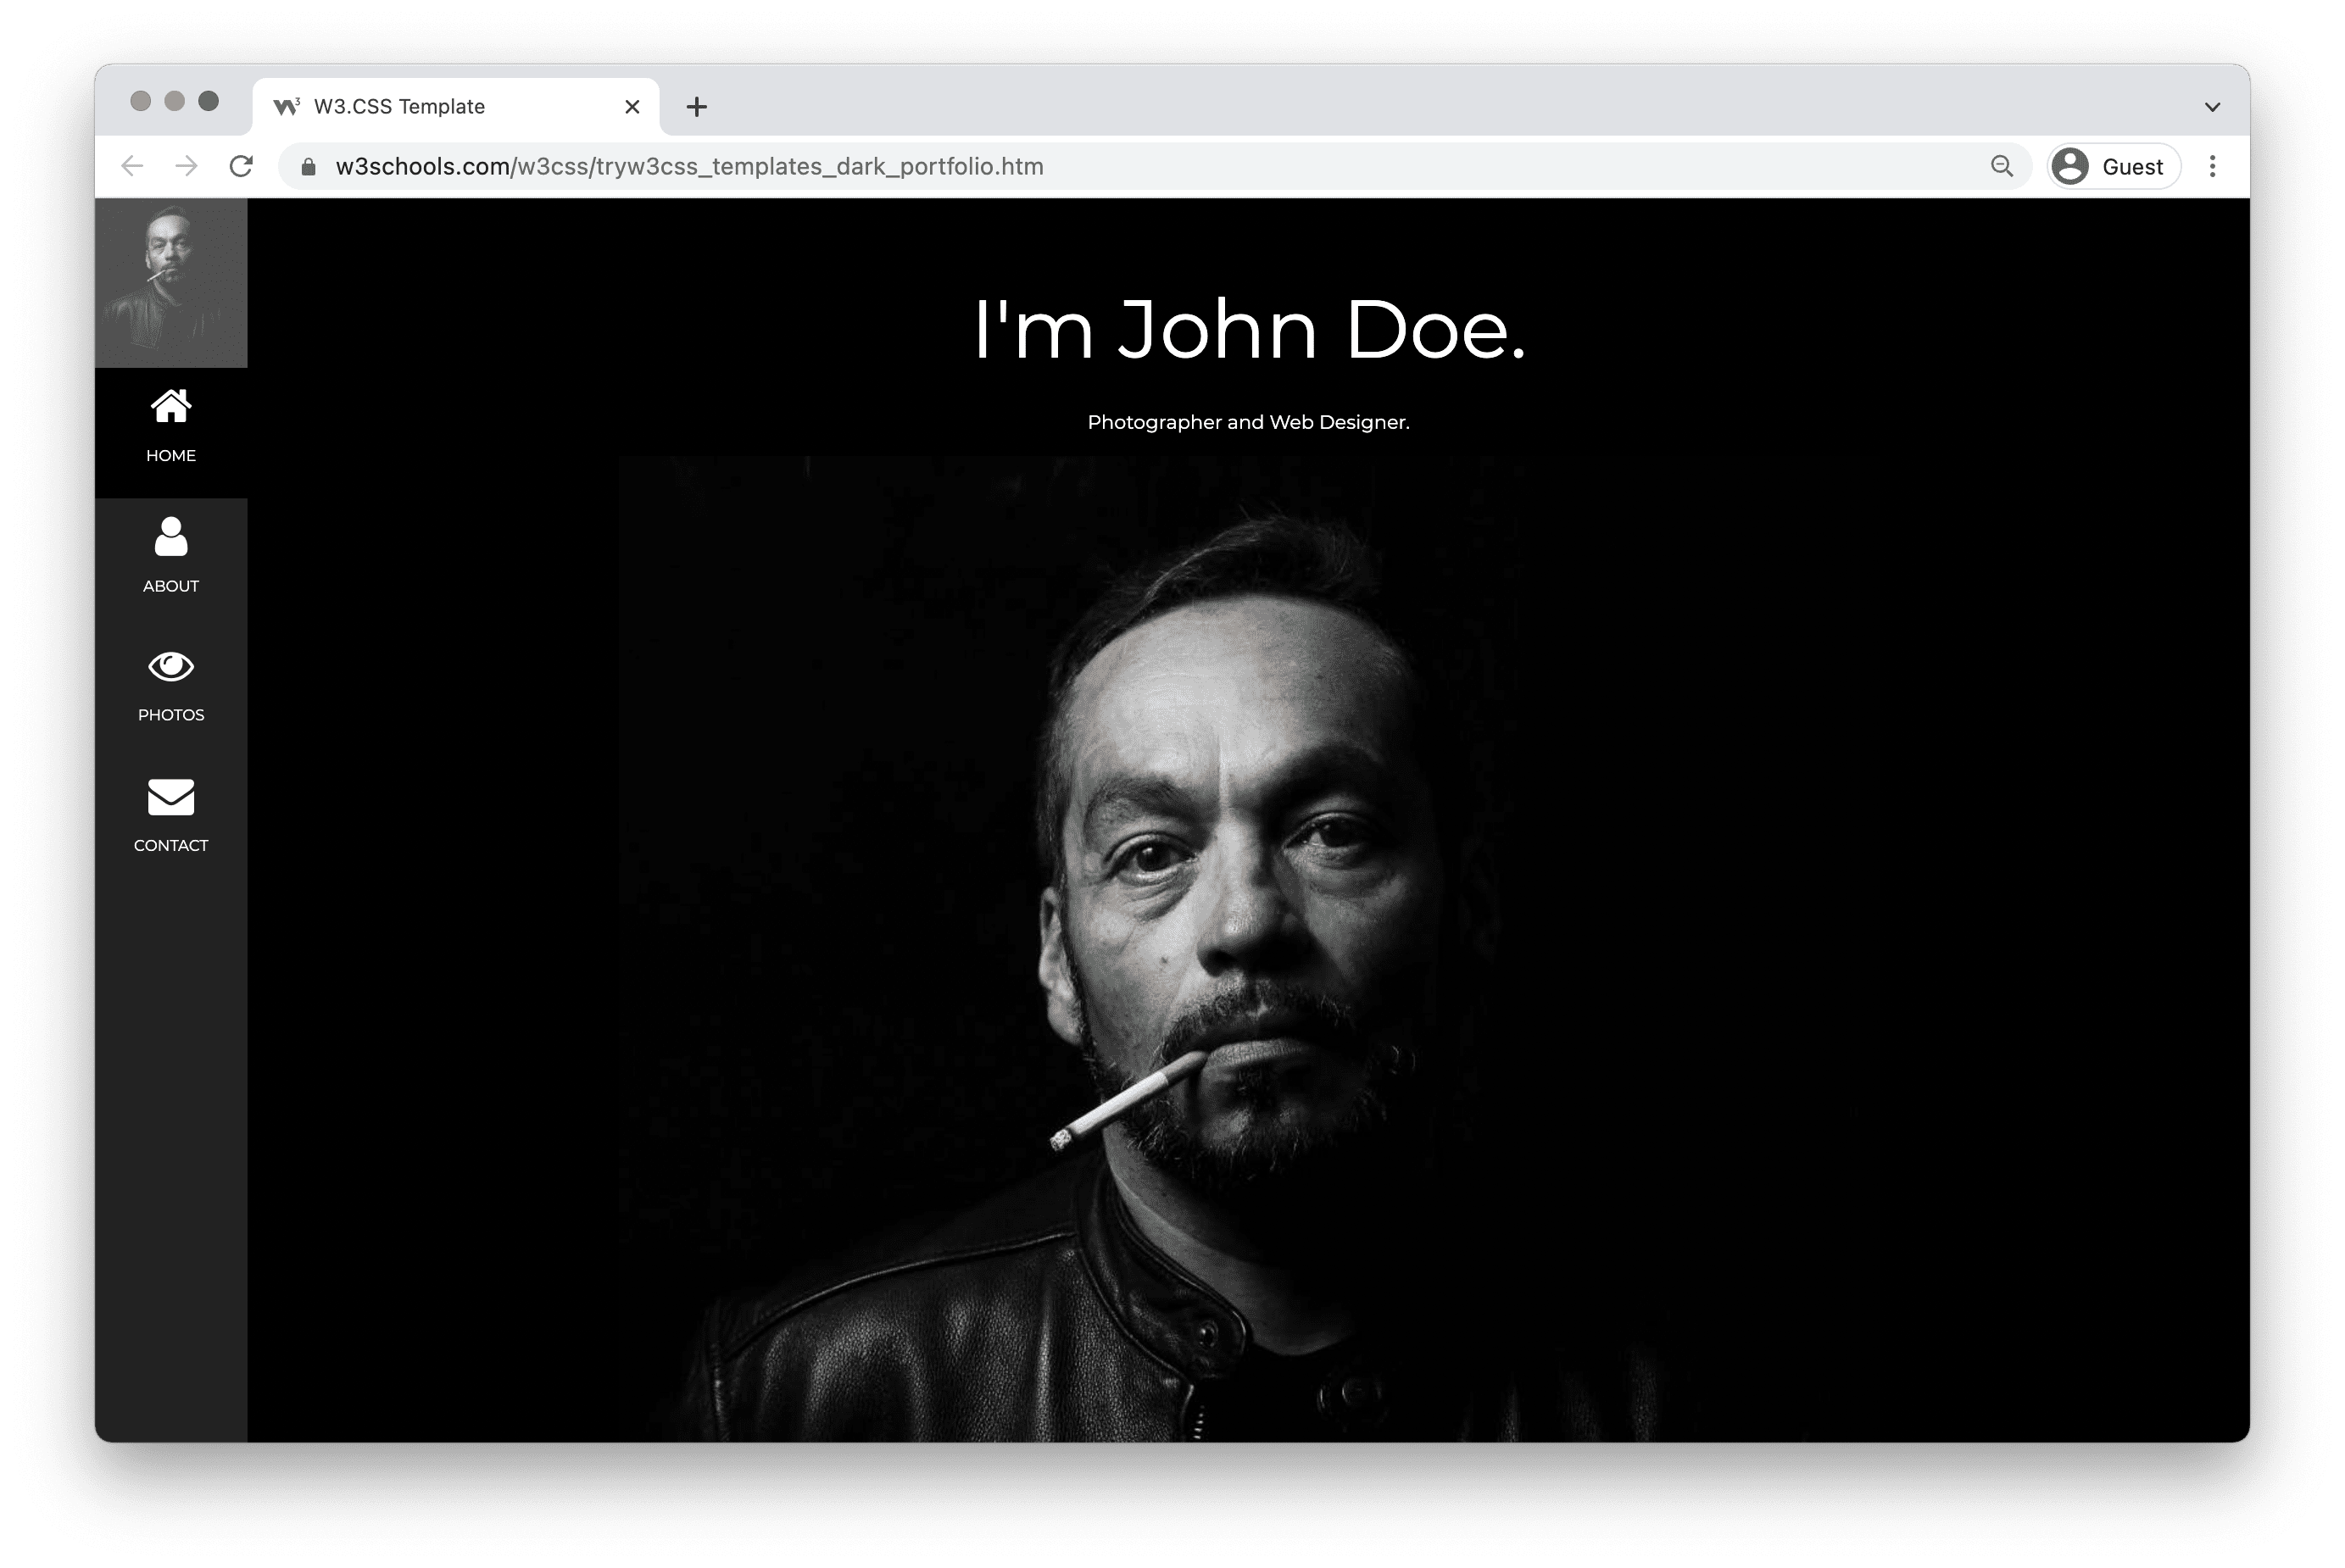
Dark Portfolio Template
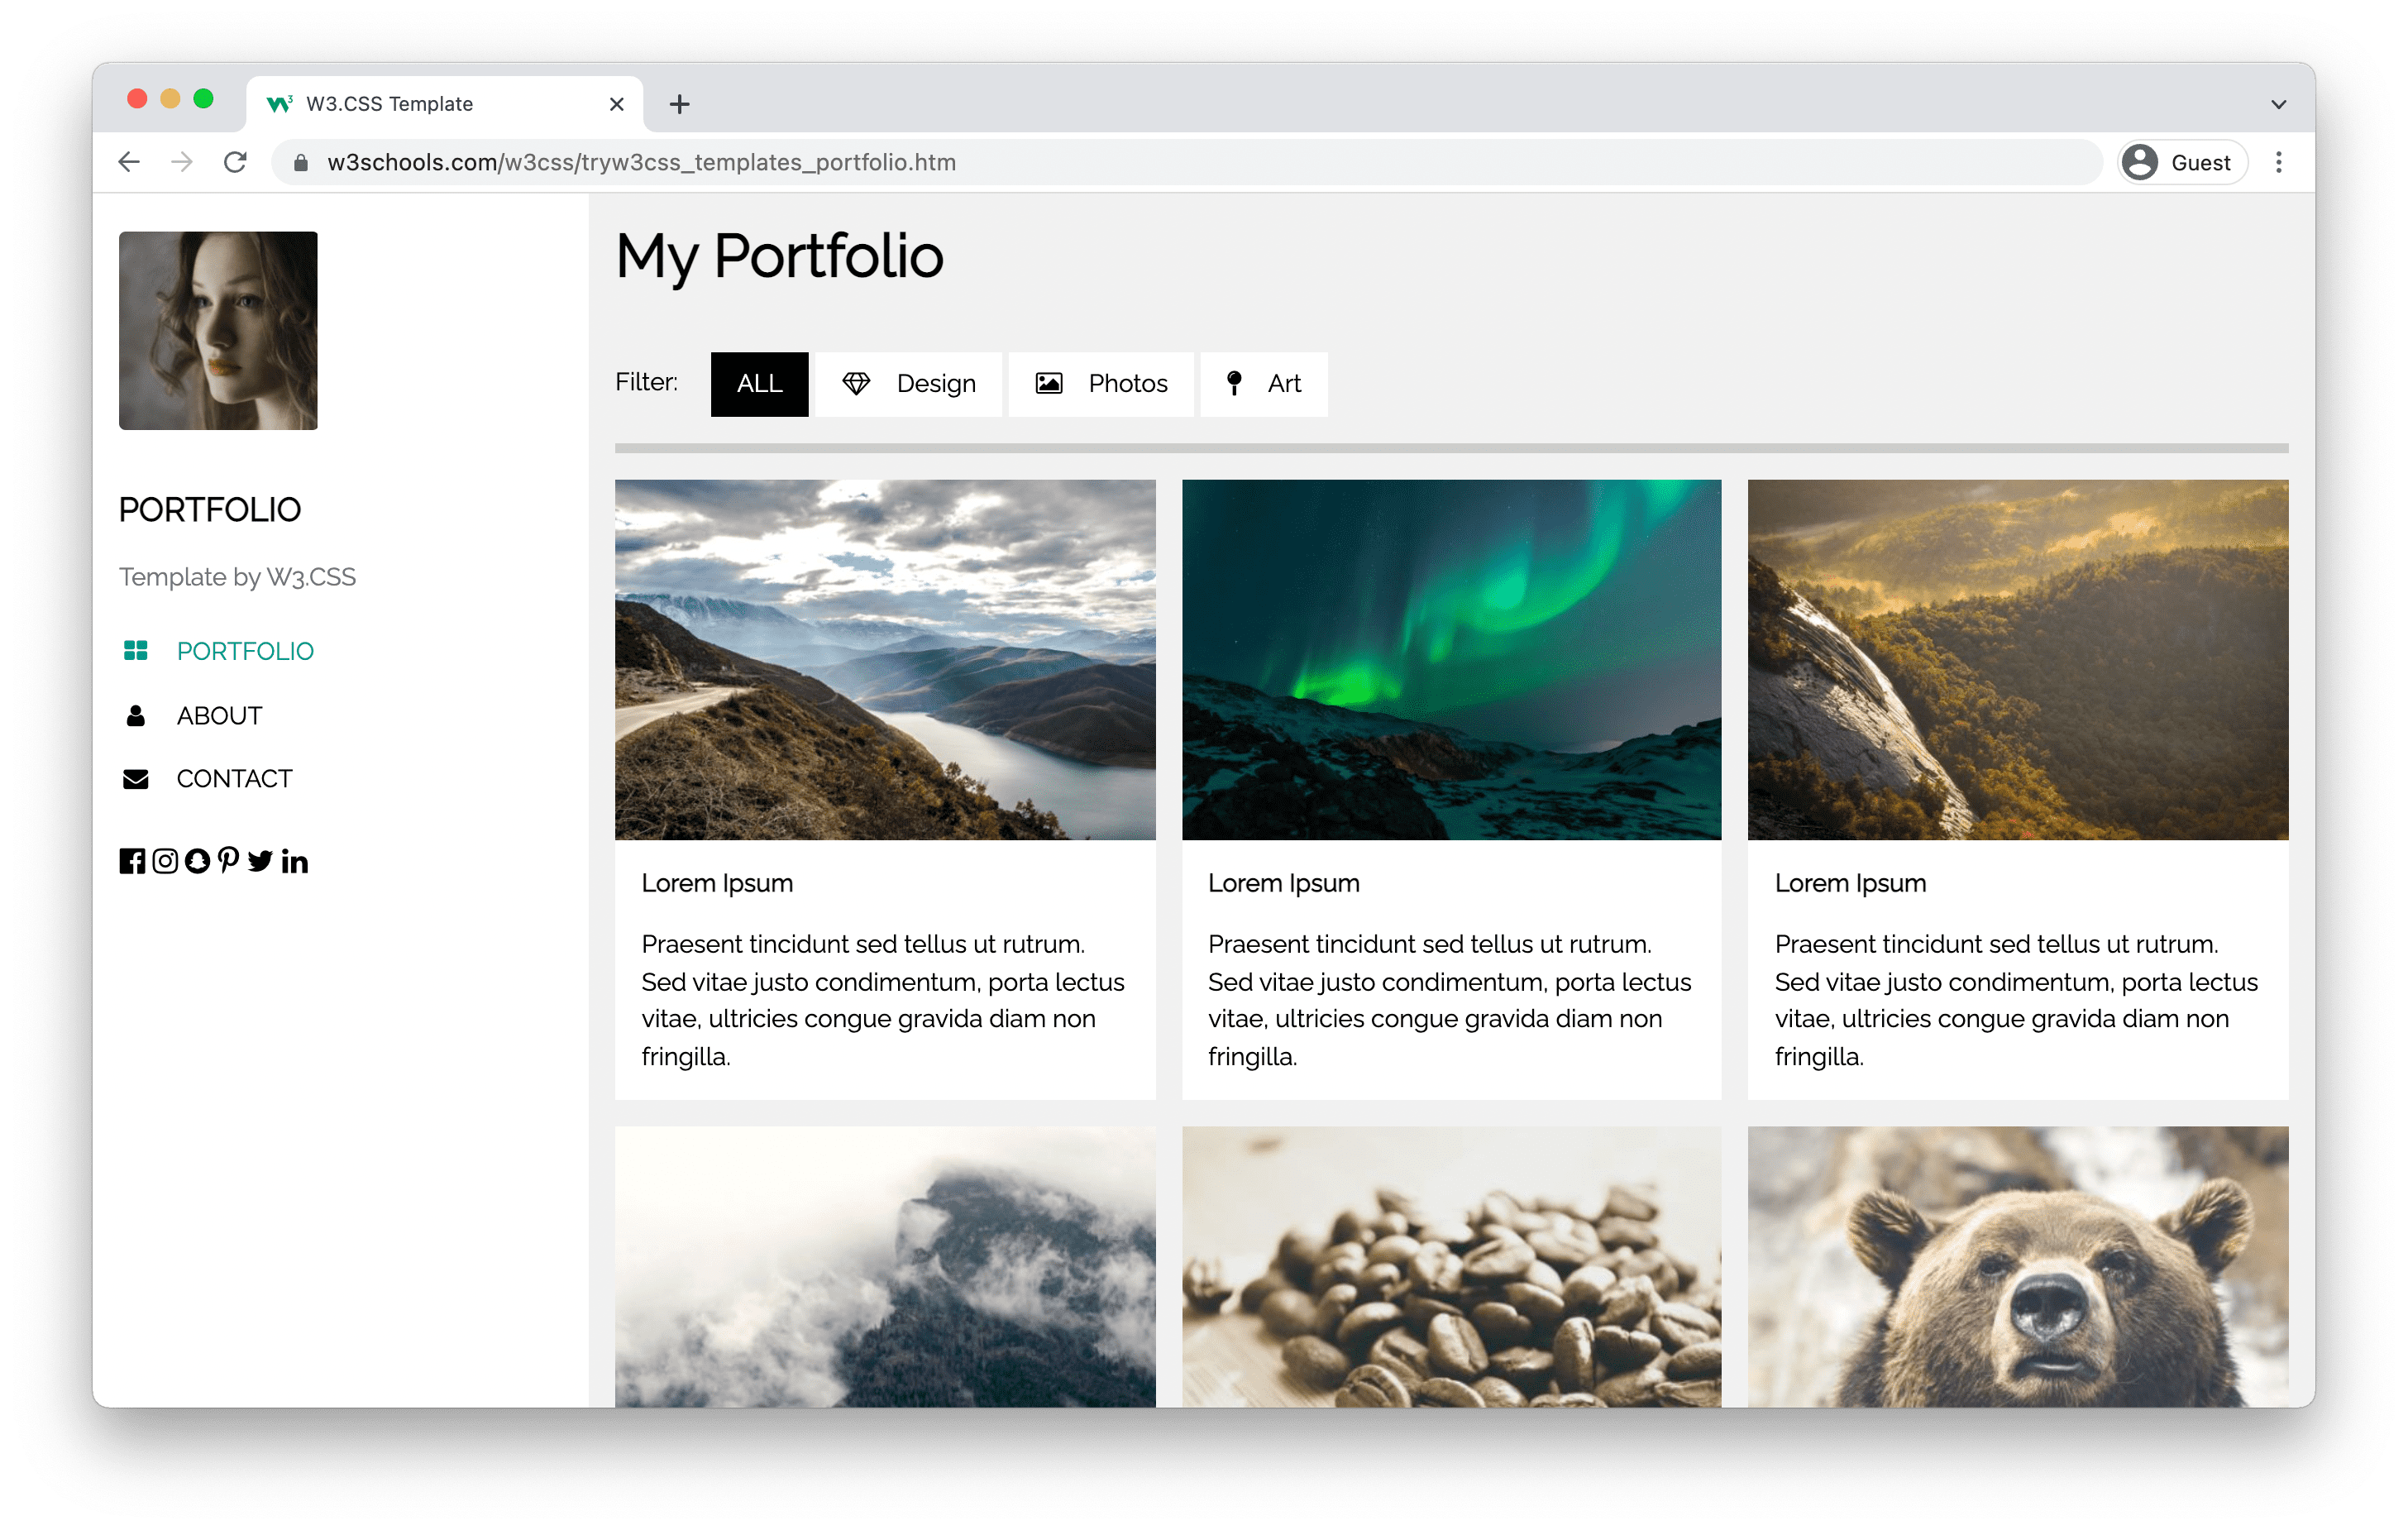
People Portfolio

My Portfolio Template
What do I need to know to create my own portfolio?
HTML, CSS and JavaScript are the foundational languages to create a website.
You can come a long way just using these three!
- Create the structure with HTML. The first thing you have to learn, is HTML, which is the standard markup language for creating web pages. Learn HTML ❯
- Style with CSS. The next step is to learn CSS, to set the layout of your web page with beautiful colors, fonts, and much more. Learn CSS ❯
- Make it interactive with JavaScript. After studying HTML and CSS, you should learn JavaScript to create dynamic and interactive web pages for your users. Learn JavaScript ❯
How to create a portfolio step-by-step
Follow the steps to create your portfolio from the ground up.
Preparations
Decide which code editor to use and set up your environment.
W3Schools has created an easy to use code editor called W3Schools Spaces. Sign up and get started in a few clicks.
Start for free ❯Create your index.html file. So that you are ready to enter the code.
All set up. Lets go!
Step One: Add HTML Skeleton
Type an HTML skeleton code, which is the starting point for your website. It is the structure which holds the code and ensures that it is properly displayed on the internet.
Read here for how to create a basic HTML Skeleton: How to create a HTML Skeleton
Step Two: Add Navigation Bar
The navigation bar is a short representation of the content on the website.
It is one of the first things that a visitor will see.
It helps the visitors to find and navigate through the content on website. It is important to create well-structured navigation. So that your visitors can find what they are looking for.
Here is an example of how to create a top navigation bar: How to create a Top Navigation Bar
Step Three: Add Hero section
The Hero section, together with the navigation bar, is the first section of your portfolio that people will see.
It should contain short information about several things such as:
- Who are you?
- What do you offer?
- What is your profession?
- Why should people work with you?
- Which actions should you take?
Write in first-person and keep it short and simple.
Additional things preferred in the hero section are:
- Eye-catching graphics, either as a background or side-by-side with the text.
- An action button that leads to content on your portfolio or to the content of another website.
Here is an example on how to create a Hero section: How to create a Hero image
Step Four: Add About Me section
In this section, you can get creative. This can help you to to stand out.
Here you can personalize the content and write about yourself more in-depth.
The content you can include in this section is:
- Your introduction
- Who are you as a professional
- Your education
- Your skills
- Your work experience (present and/or past)
- Your hobbies
- Your goals and ambitions
In a way, you can consider the "About me" section as a short summary of your CV.
Feel free to write about yourself in first person.
Personalization and making people understand you as a person might bring you more attention.
Here is an example on how to create an about me section: How to create an About Me section
Step Five: Add Work Experience section
The work experience section highlights the experience, knowledge, and competence that you have made along your way.
Here you can add:
- Links to your projects with the project name and/or short description of what the project is about.
- Links to blog posts that you have written with title and/or short description about what it is about.
- Your professional awards or achievements.
- Highlighting your work and your accomplishments is a way to create opportunities for yourself.
- Visual representations such as images or graphics.
Step Six: Add Contact section
The contact section is the section that lets your visitor get in touch with you.
You should always include a way for visitors to contact you, either through a contact form or by writing down your contact information such as:
- Address
- Phone number
- E.g. Github profile, LinkedIn profile, Youtube profile and so on.
Here is an example on how to create a basic contact section: How to create a Contact section
Step Seven: Add Footer section
The footer can be experienced as a minor section, but it is an important one of every website.
It is about showing critical information based on your website goals and the needs of your visitors.
Often it contains technical information about copyright, but it can hold other information, such as:
- Link to "Privacy policy" page
- Link to "Terms of use" page
- Contact information
- Website navigation links
- Links to social networks
- Link to your shop
Here is an example on how to build a footer section: How to create a Footer section